Making Nettle Cordage
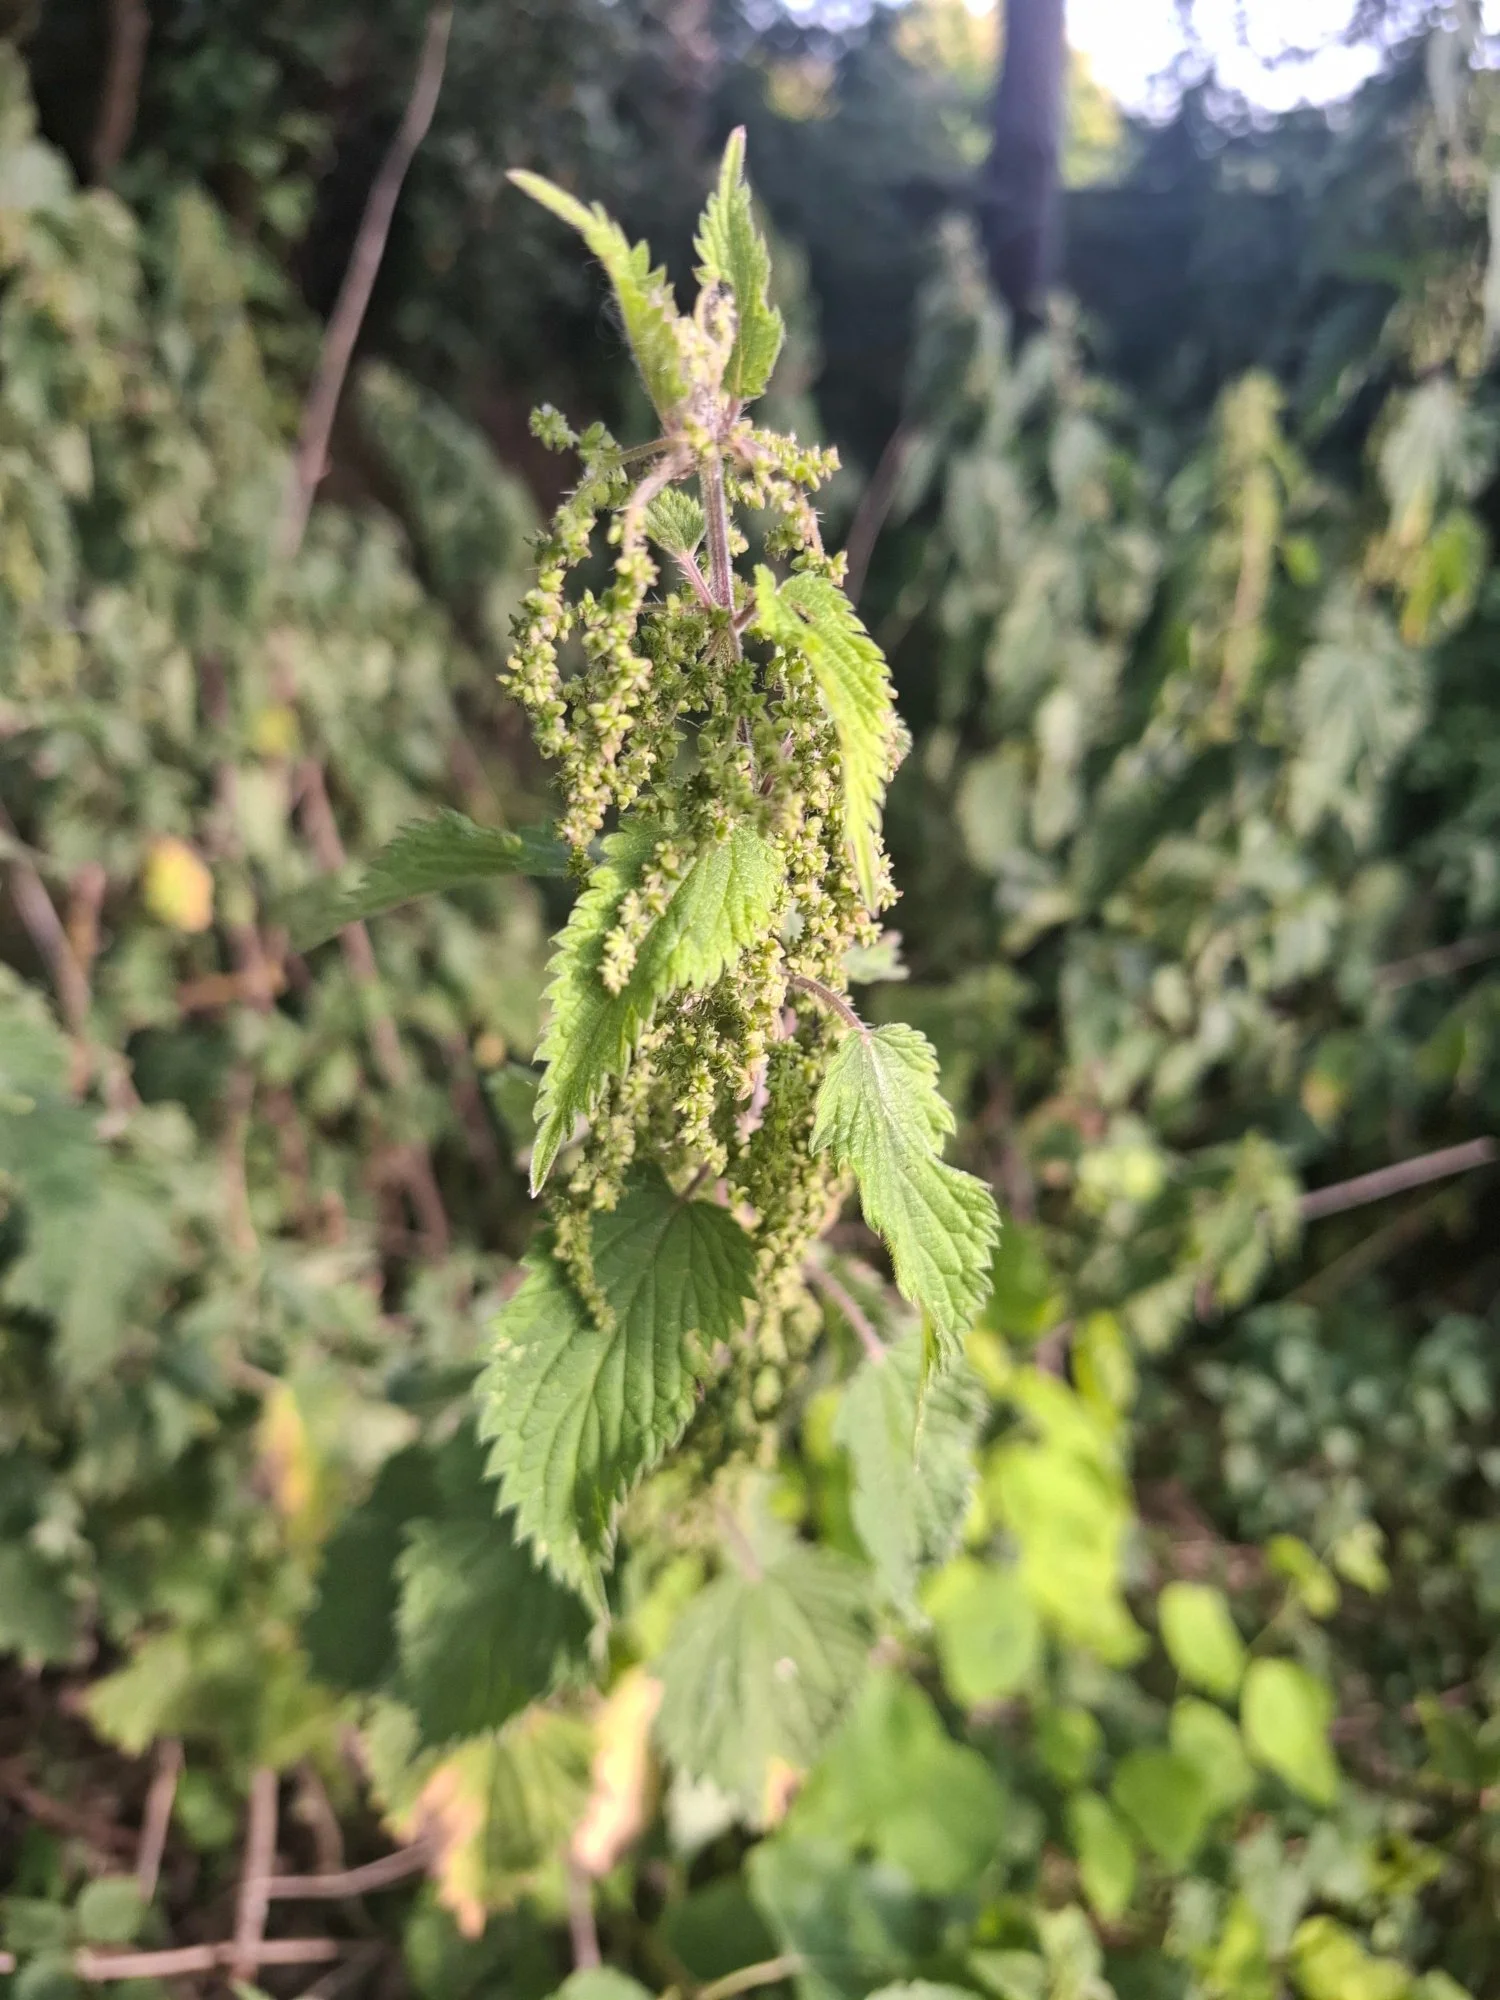
Stinging Nettles - Urtica dioica, are surely one of the most commonly used herbaceous wild plants. They can be used for dye, cordage and textiles or making a liquid feed for your veg garden. As a food they are highly nutritious, full of vitamins and minerals and can be used in soups, stews, stir-fries and teas. They are easy to find in abundance and, although there are a couple of lookalikes, they are difficult to confuse with any other plant thanks to those stings!
Nettles are also a mainstay of any wildlife garden, being a crucial food plant for a whole host of invertebrates and their larvae as well as certain small birds.
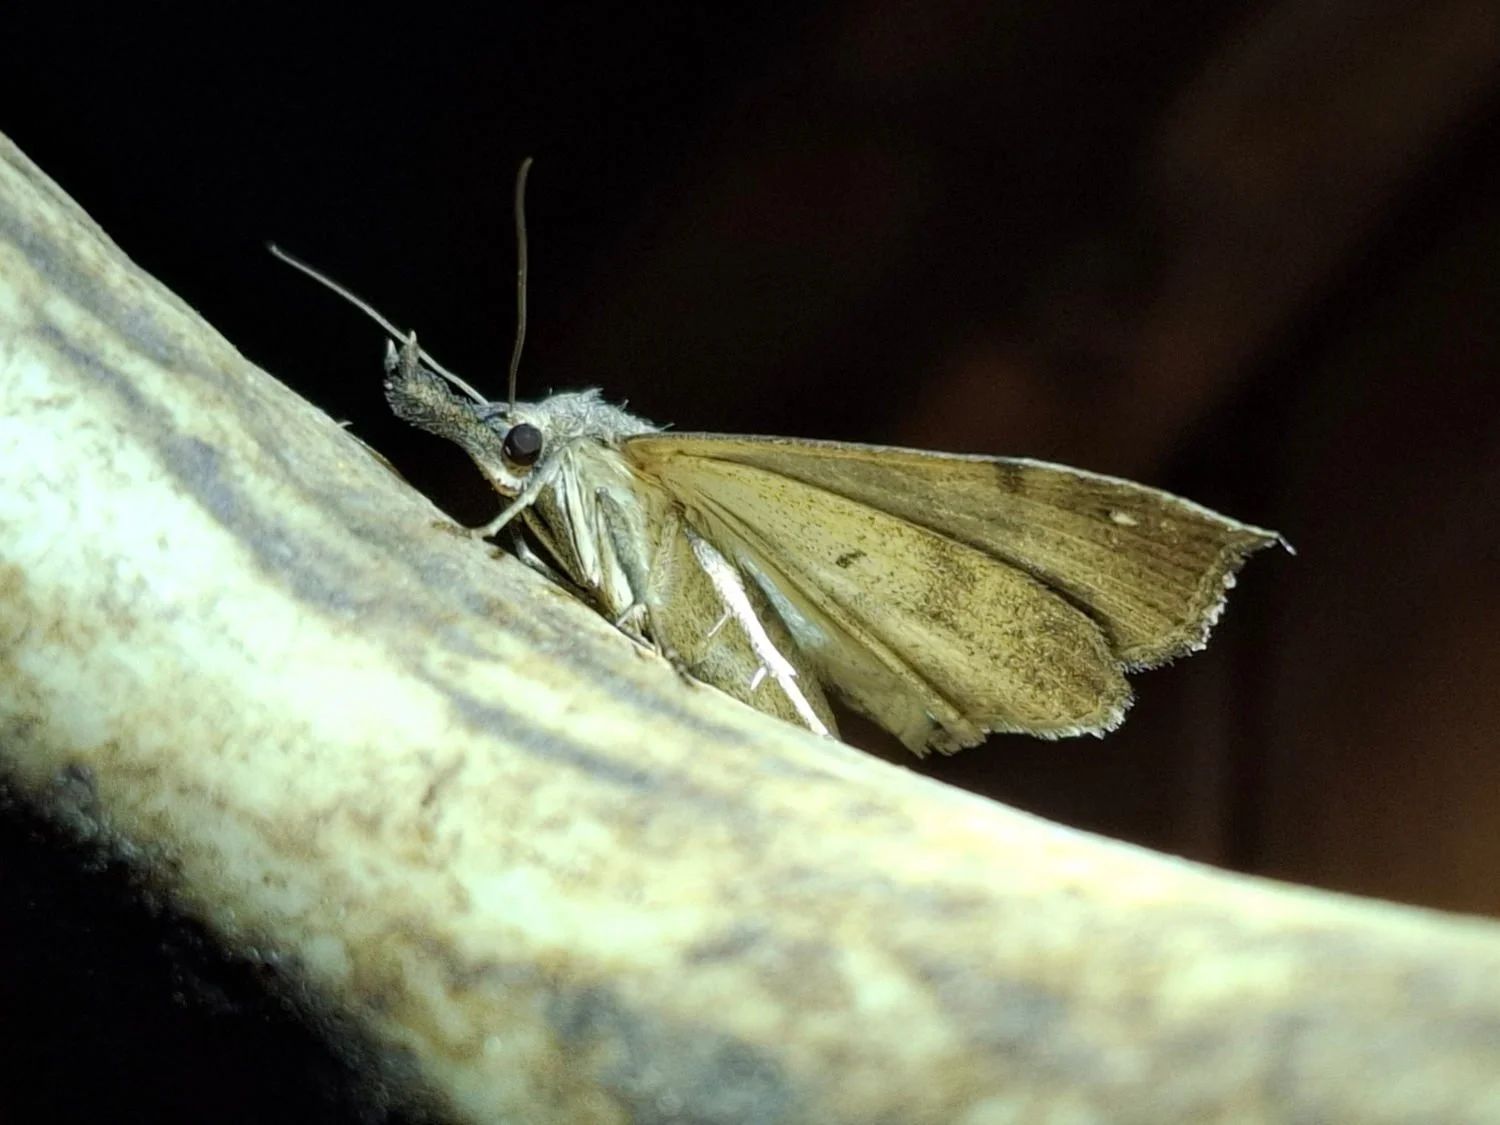
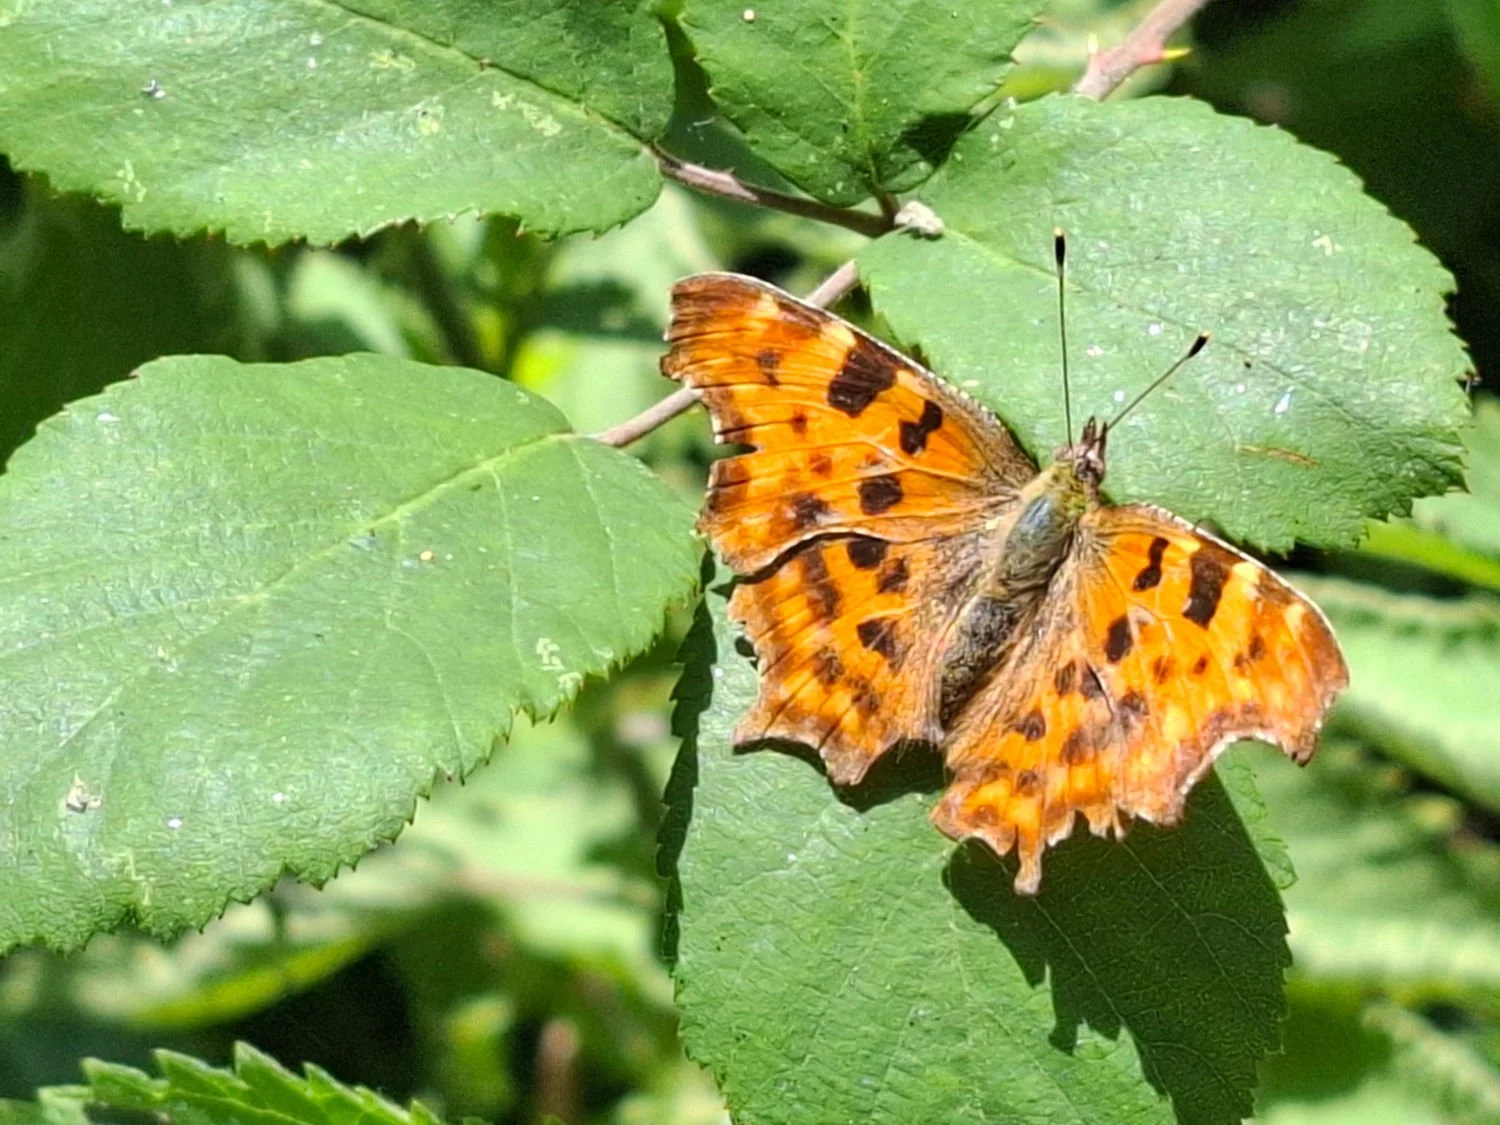
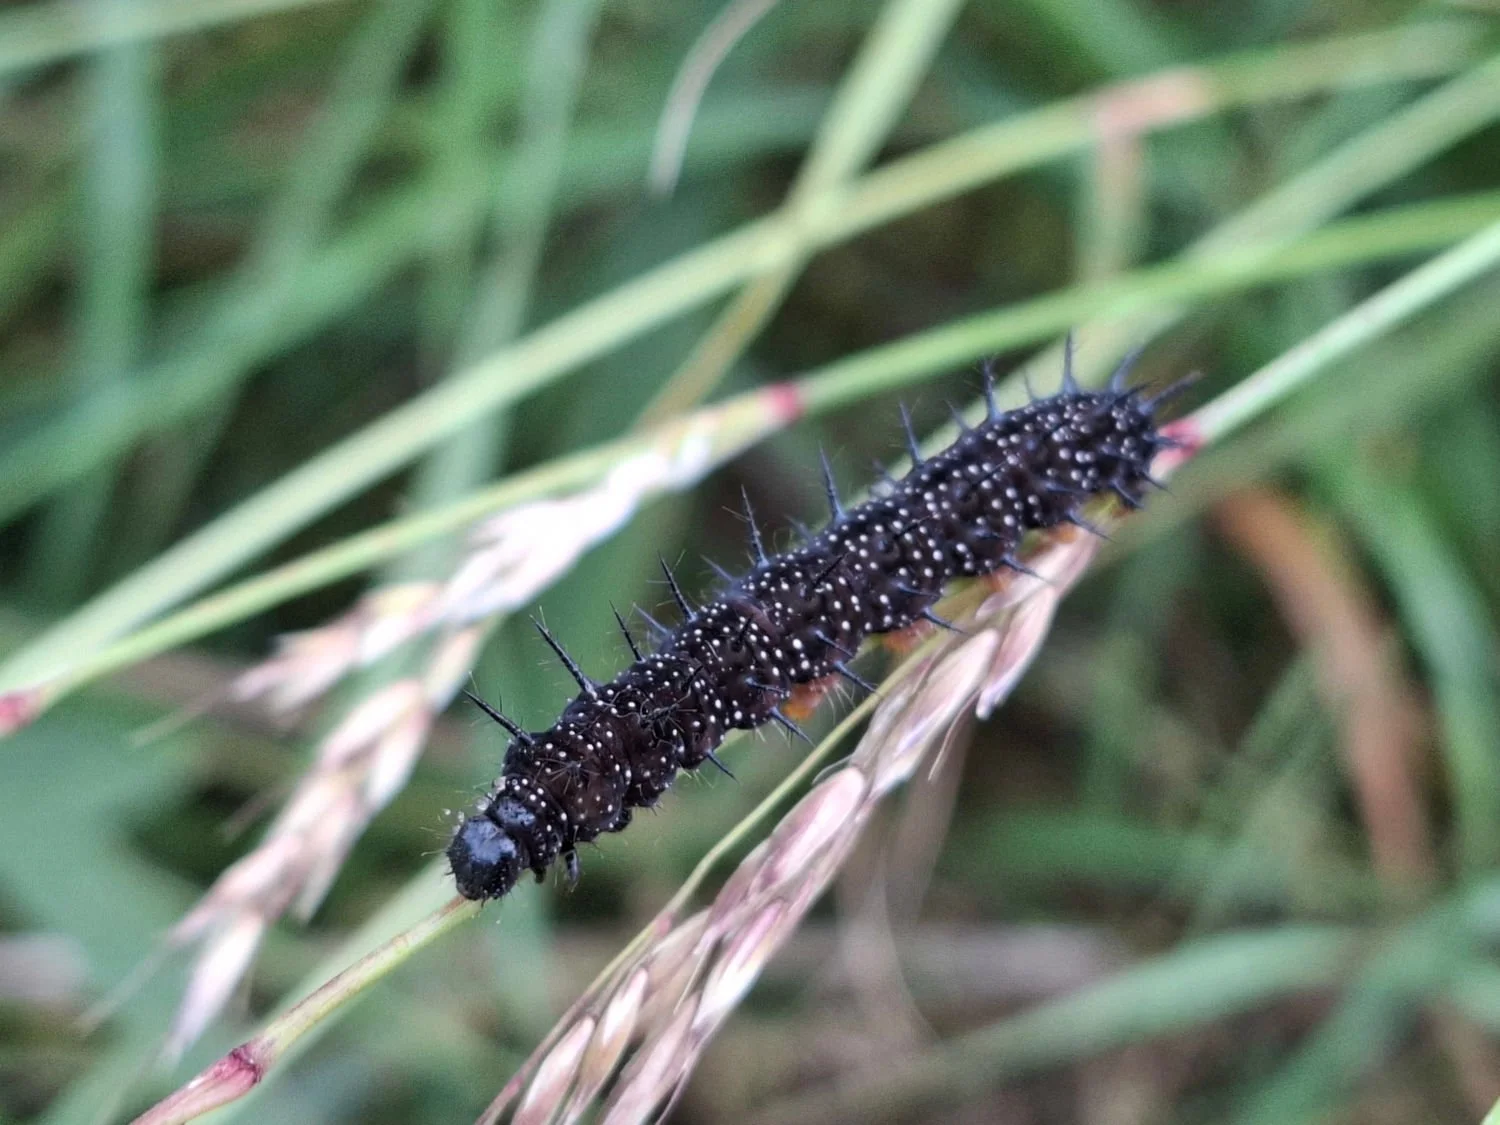
Some of the wildlife that relies on the stinging nettle. From left to right: The snout moth; the comma; the peacock caterpillar.
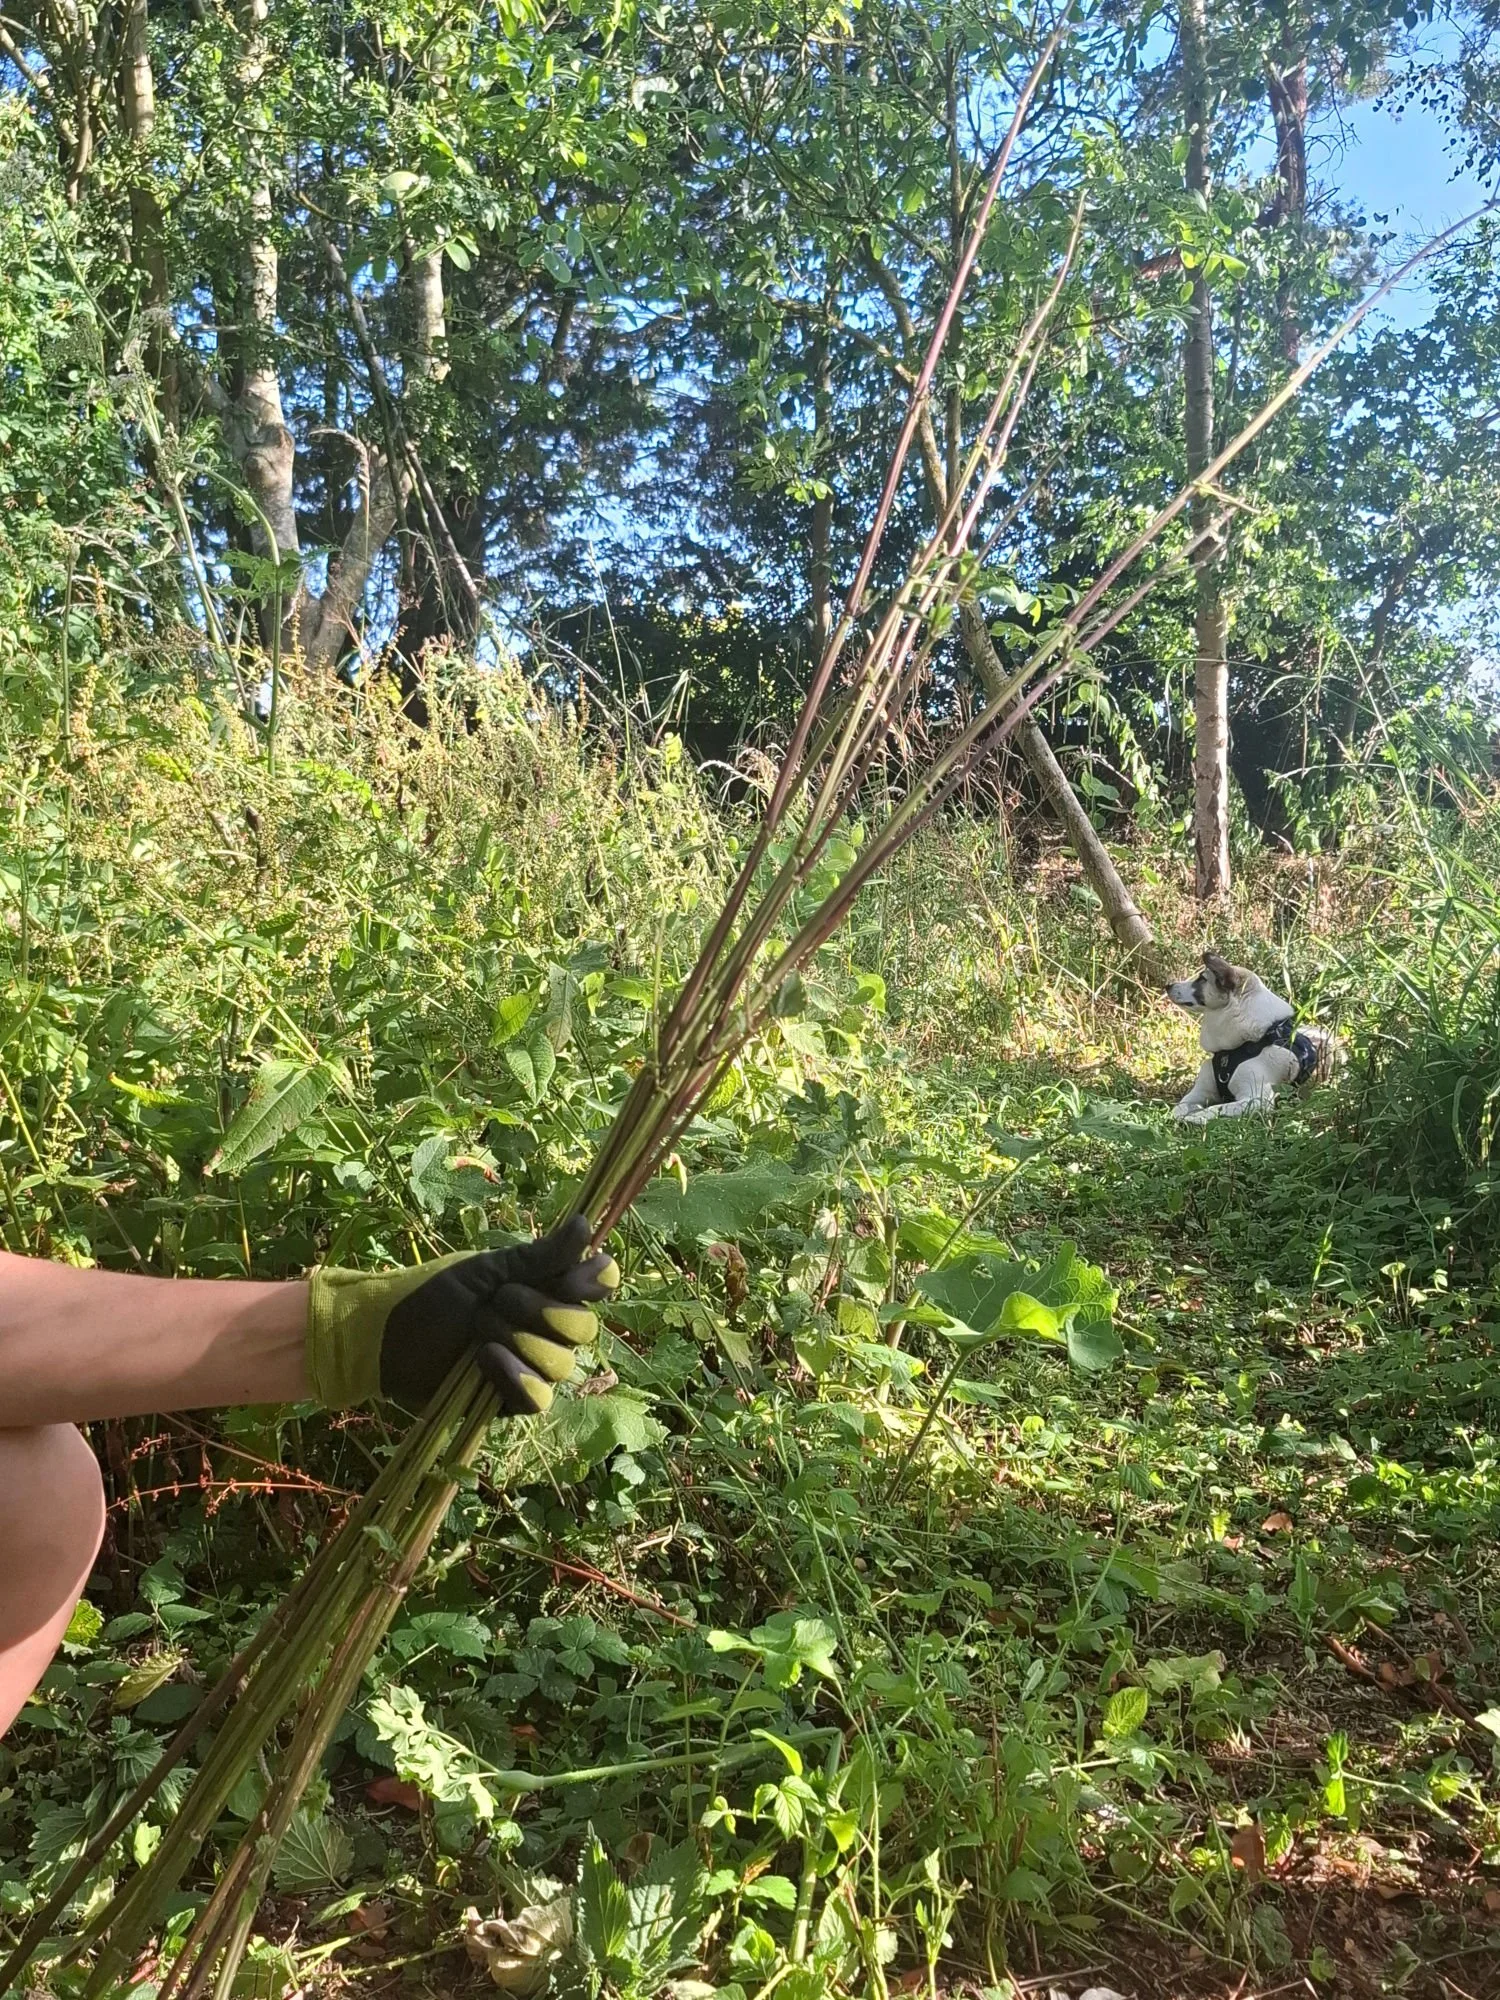
We are now in July and the nettles are currently in flower - once they start flowering the leaves that were delicious in spring and early summer can become a little bitter and stringy. But this does not signal the end of their usefulness, quite the contrary. Now the stems are tall and robust and just perfect for processing into a beautiful, very strong, natural cordage.
As we currently have a lot of nettles growing, we decided we would do just that. It’s a useful project if you need to thin out a patch.
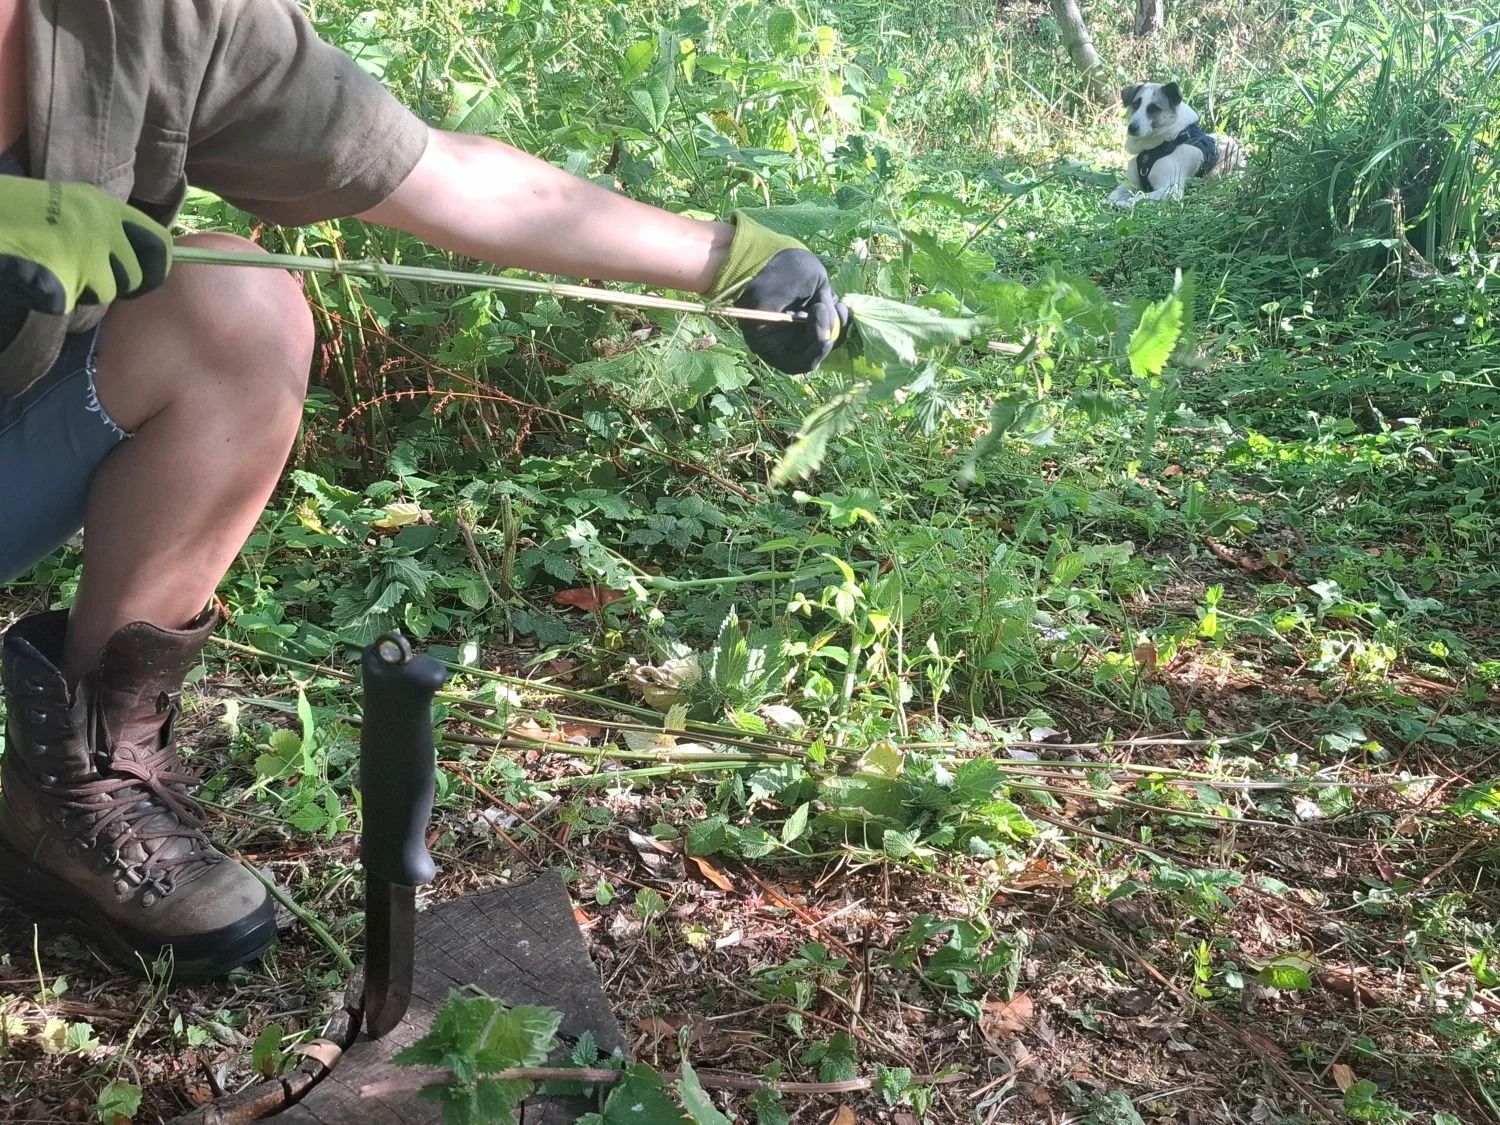
Stripping off the leaves and stings by running a hand up the stems. Done firmly and quickly enough, this can be done bare-handed without being stung… but there’s no shame in wearing gloves!
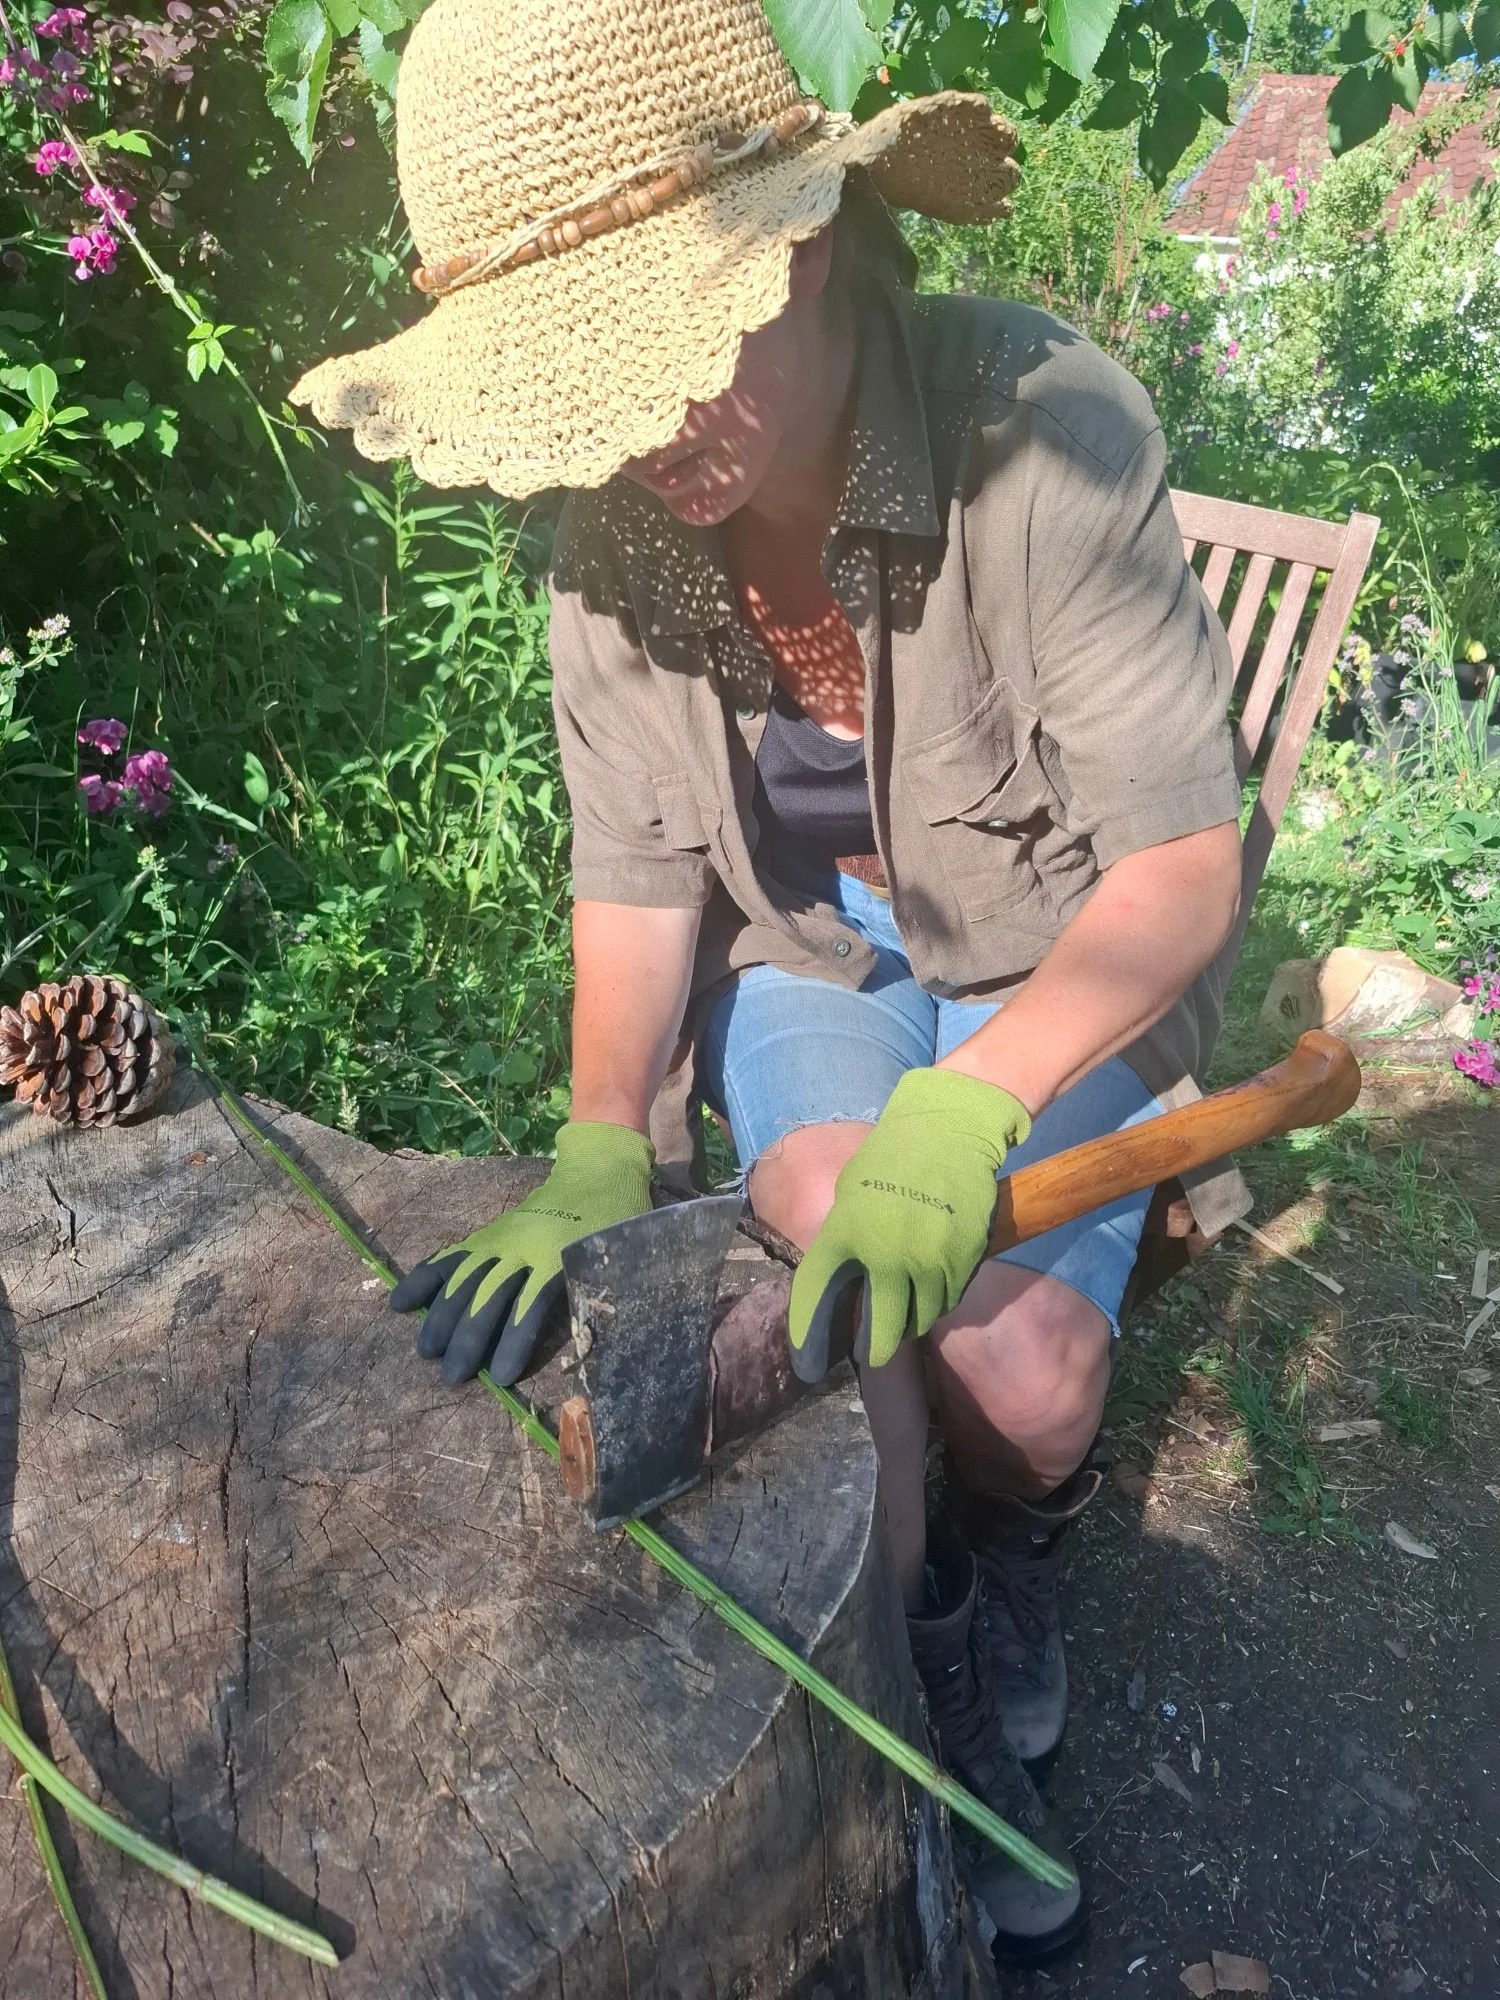
Something rounded with a little weight to it is used to tap gently along the length of each stem to break up the nodules and pith. The back of an axe head works if used lightly.
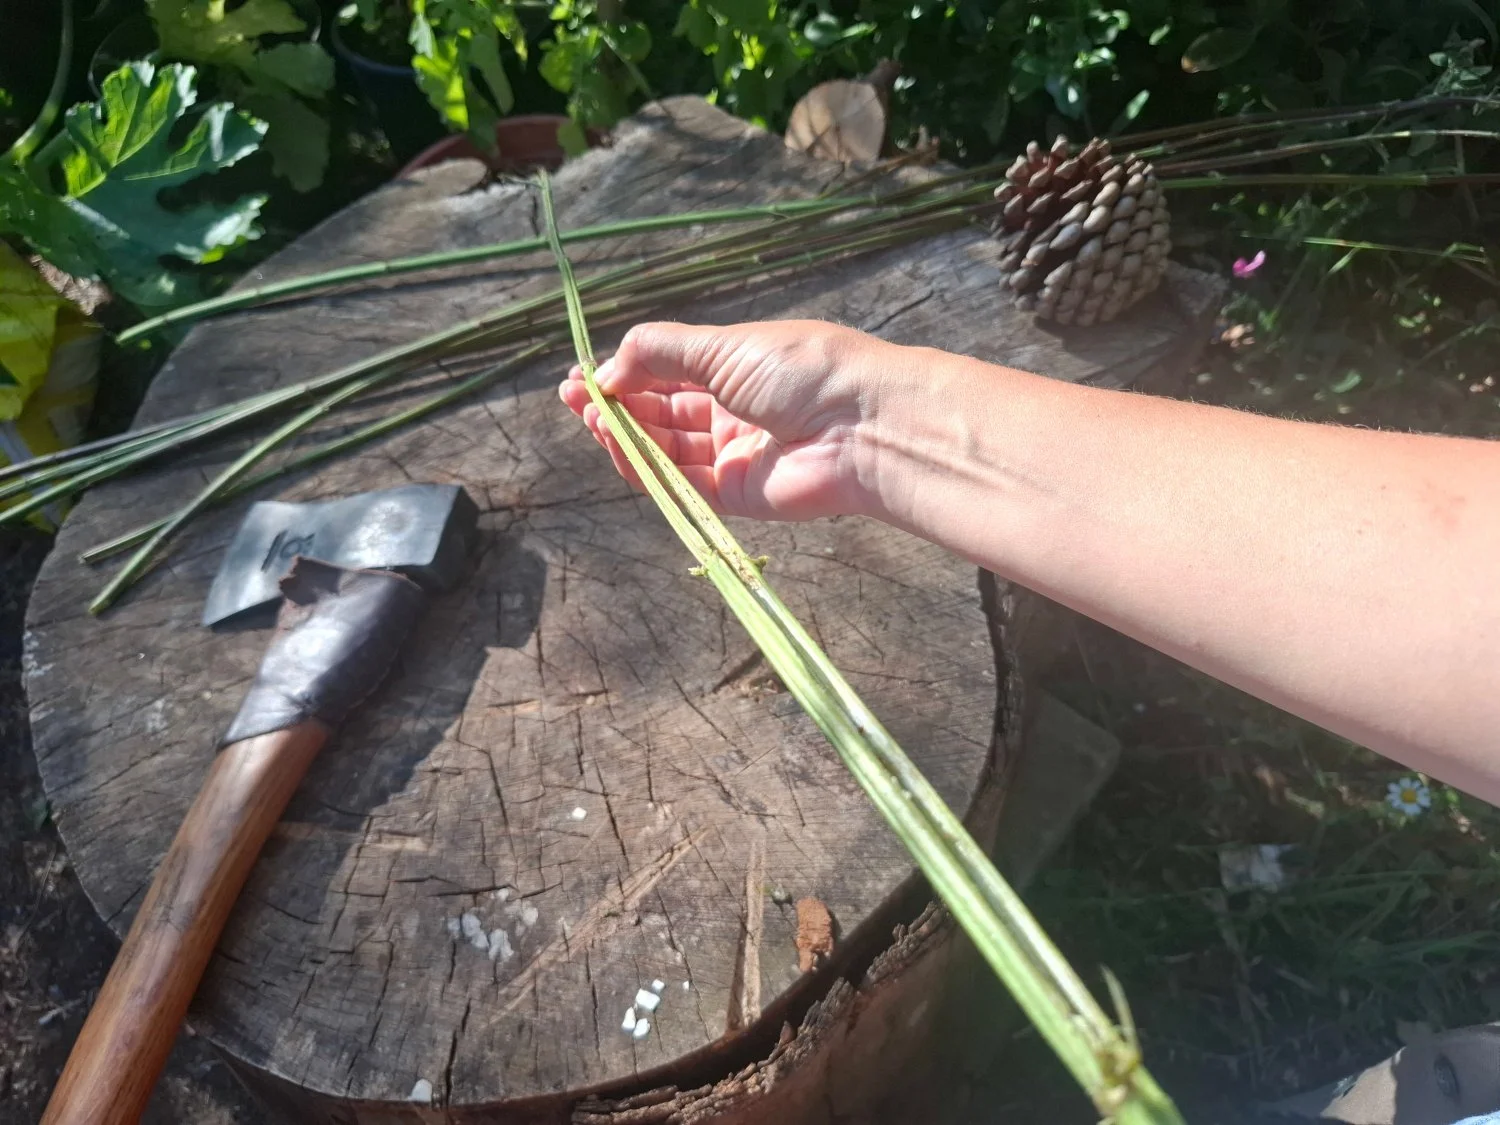
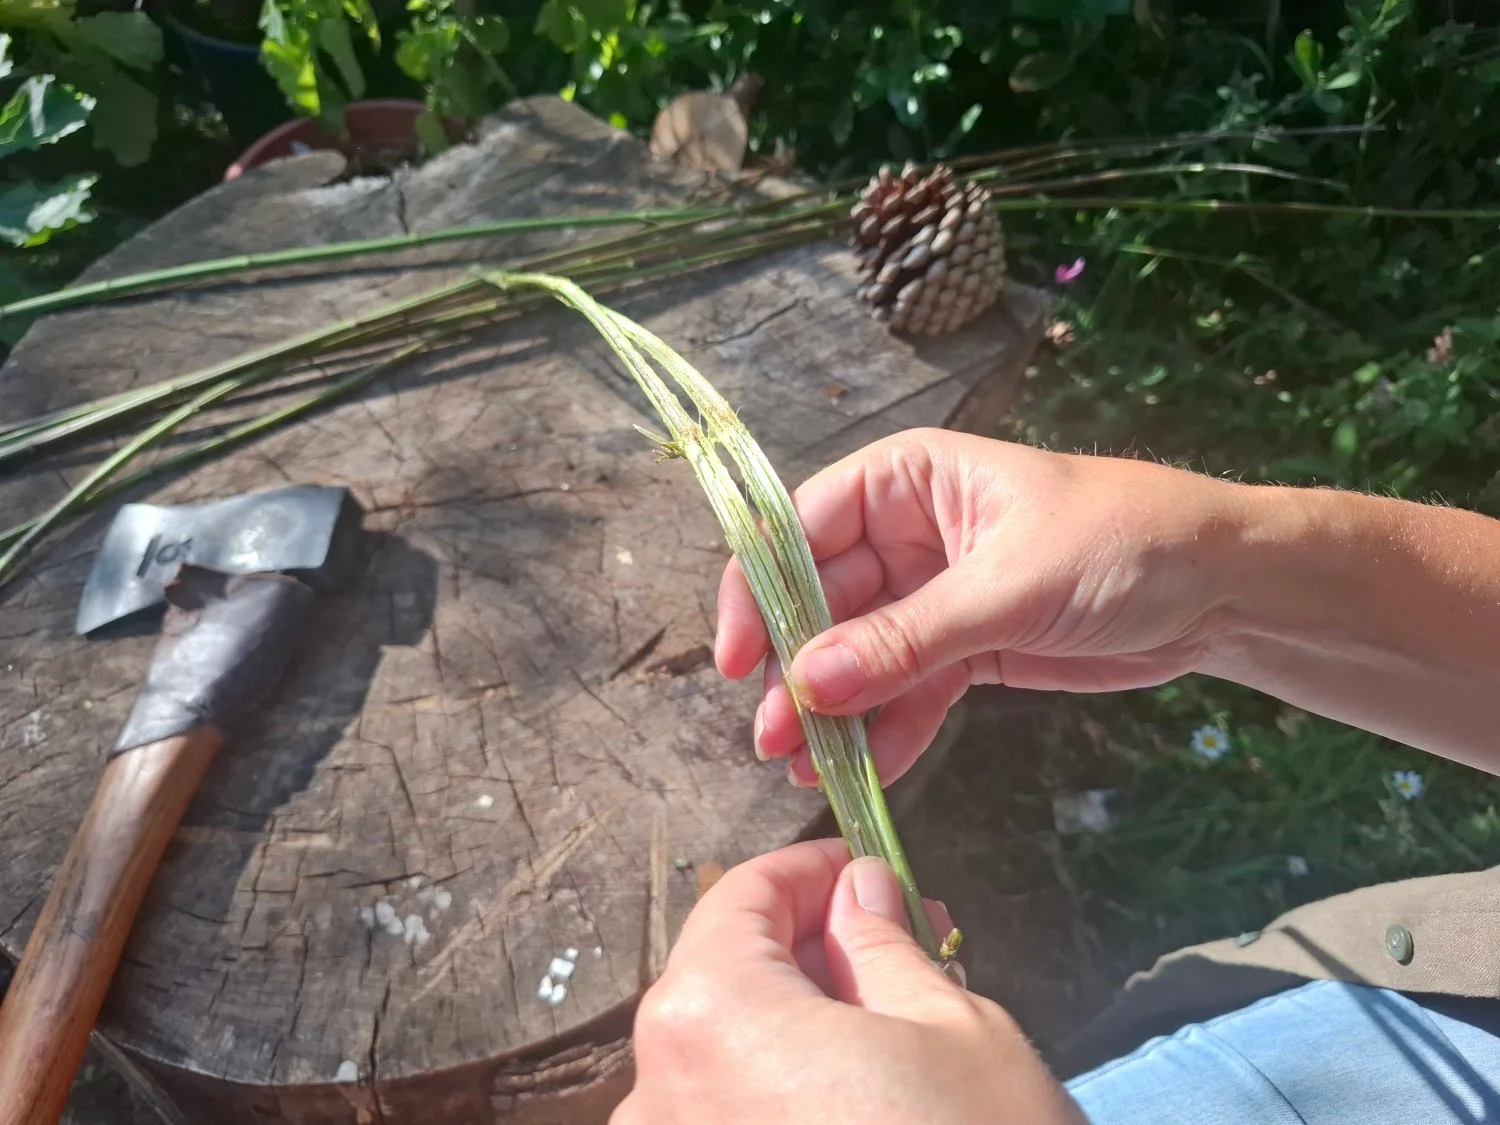
Getting a thumbnail in there and splitting the stem open lengthwise exposes the inner pith.
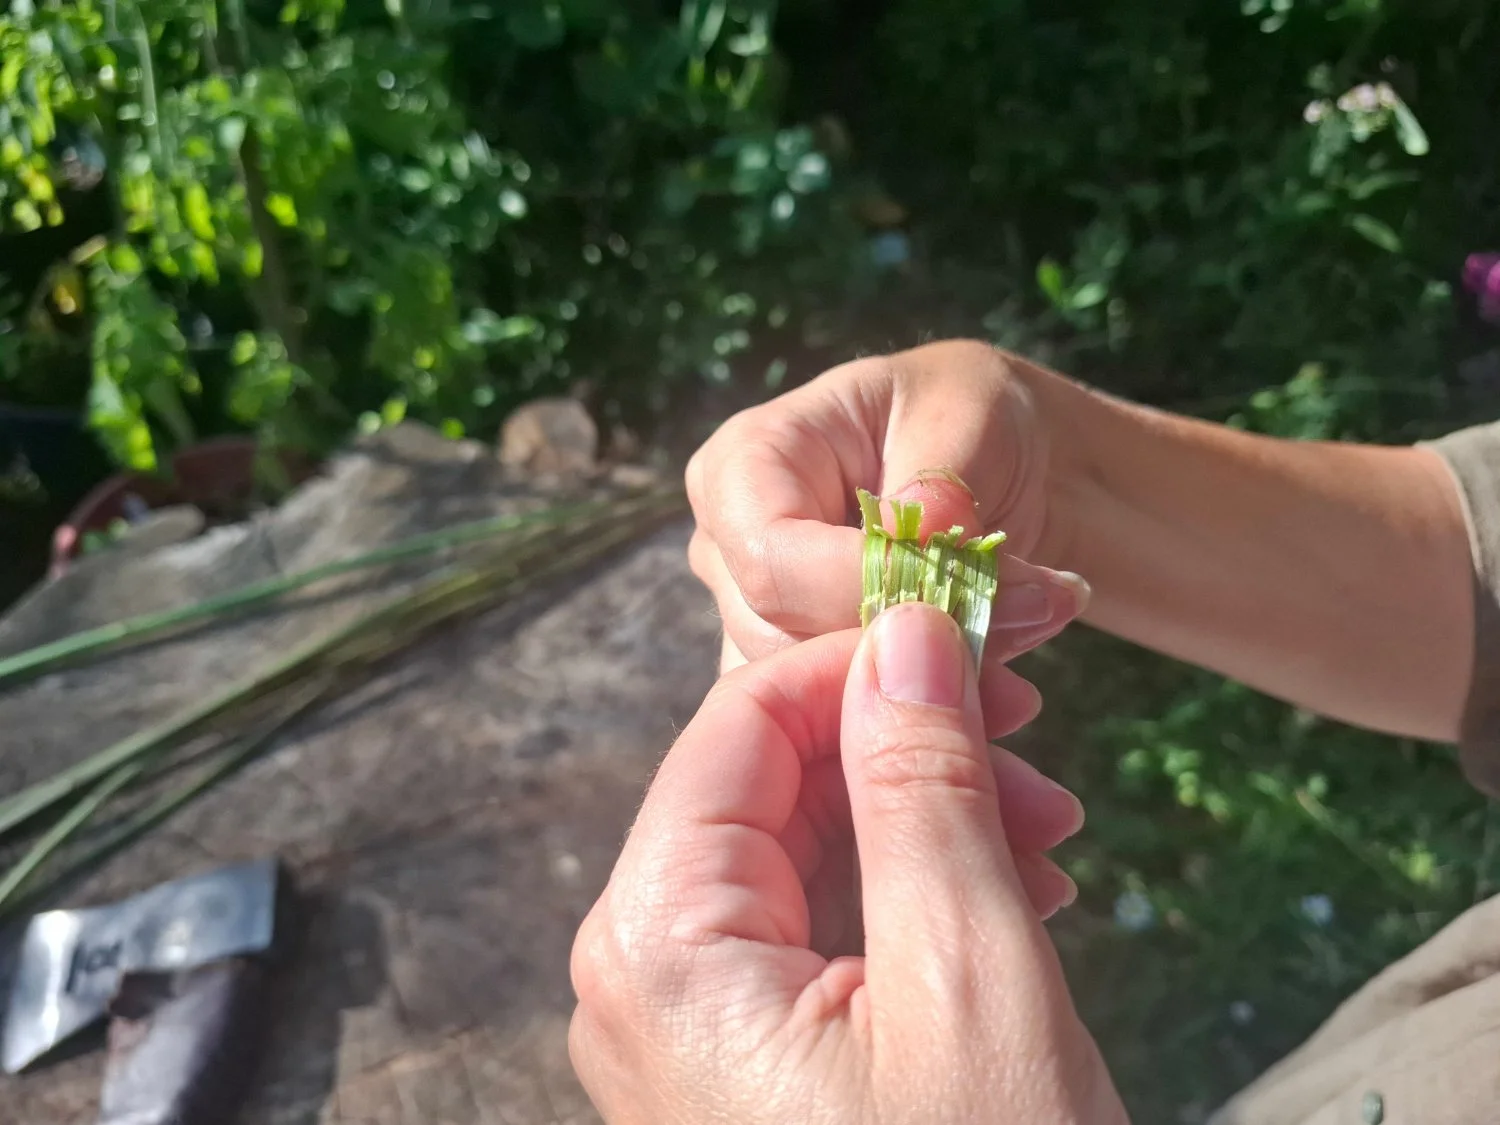
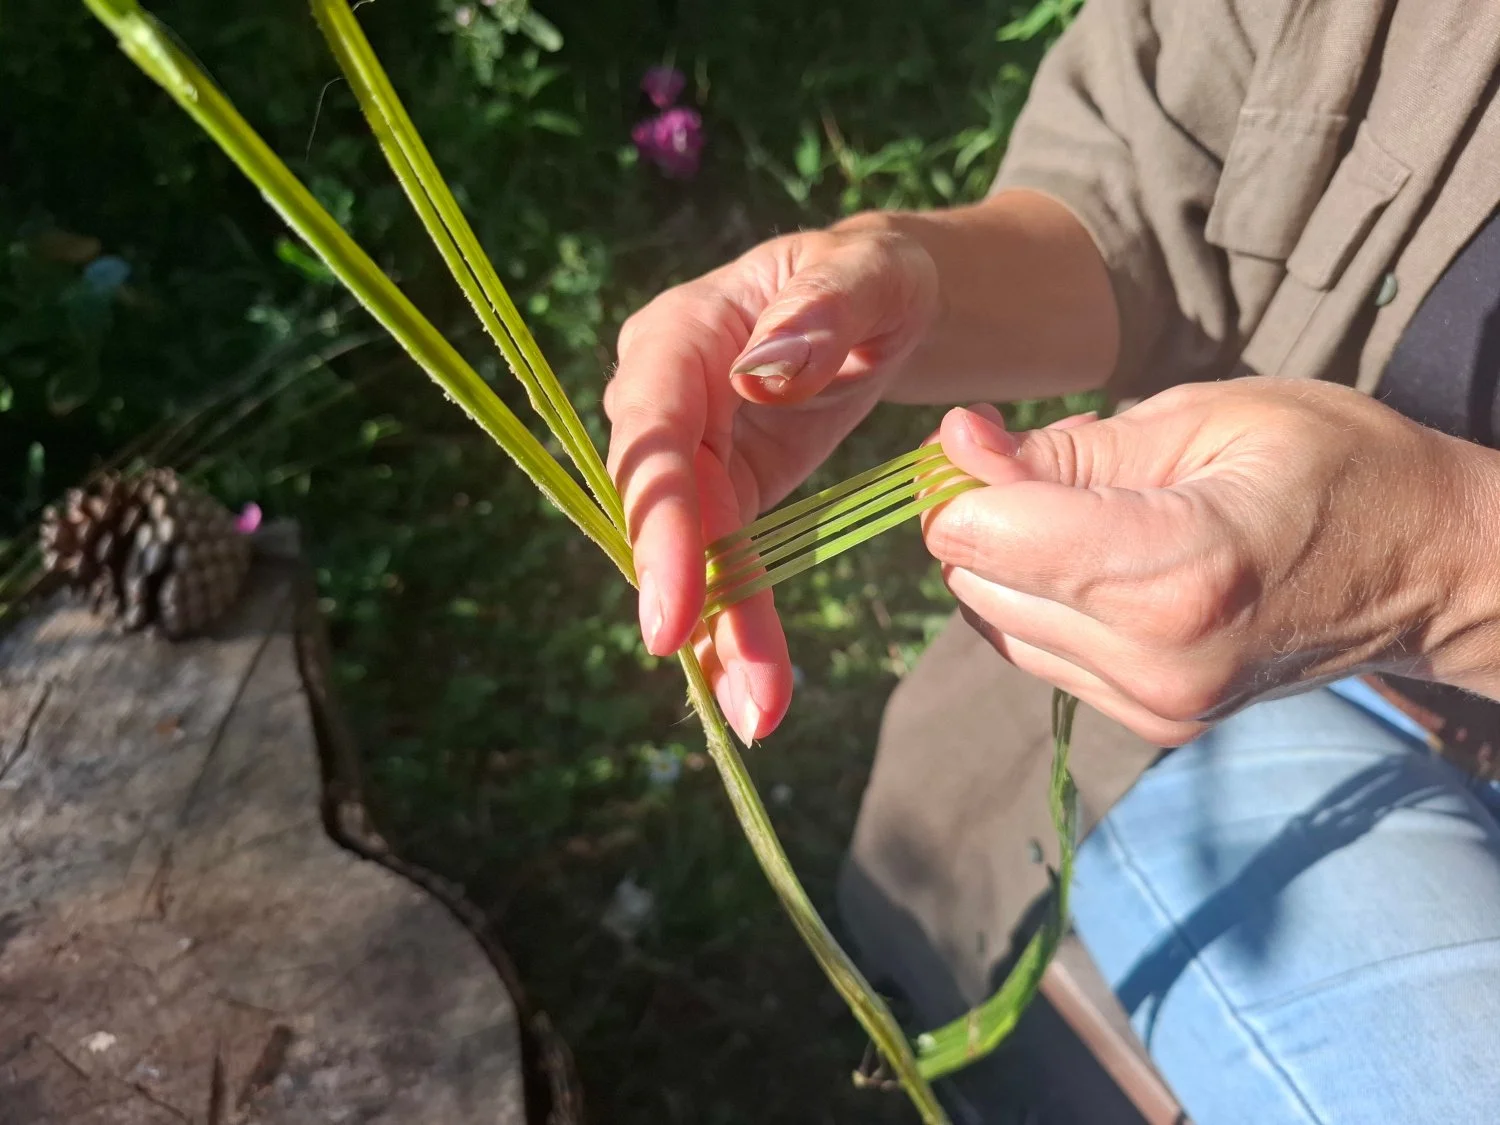
Breaking the pith and separating the outer fibres. It’s important to do this when the stems are still fresh. Once they begin to dry the outer skin and the pith stick together and are near impossible to separate.
It’s that outer skin that will become our cordage.
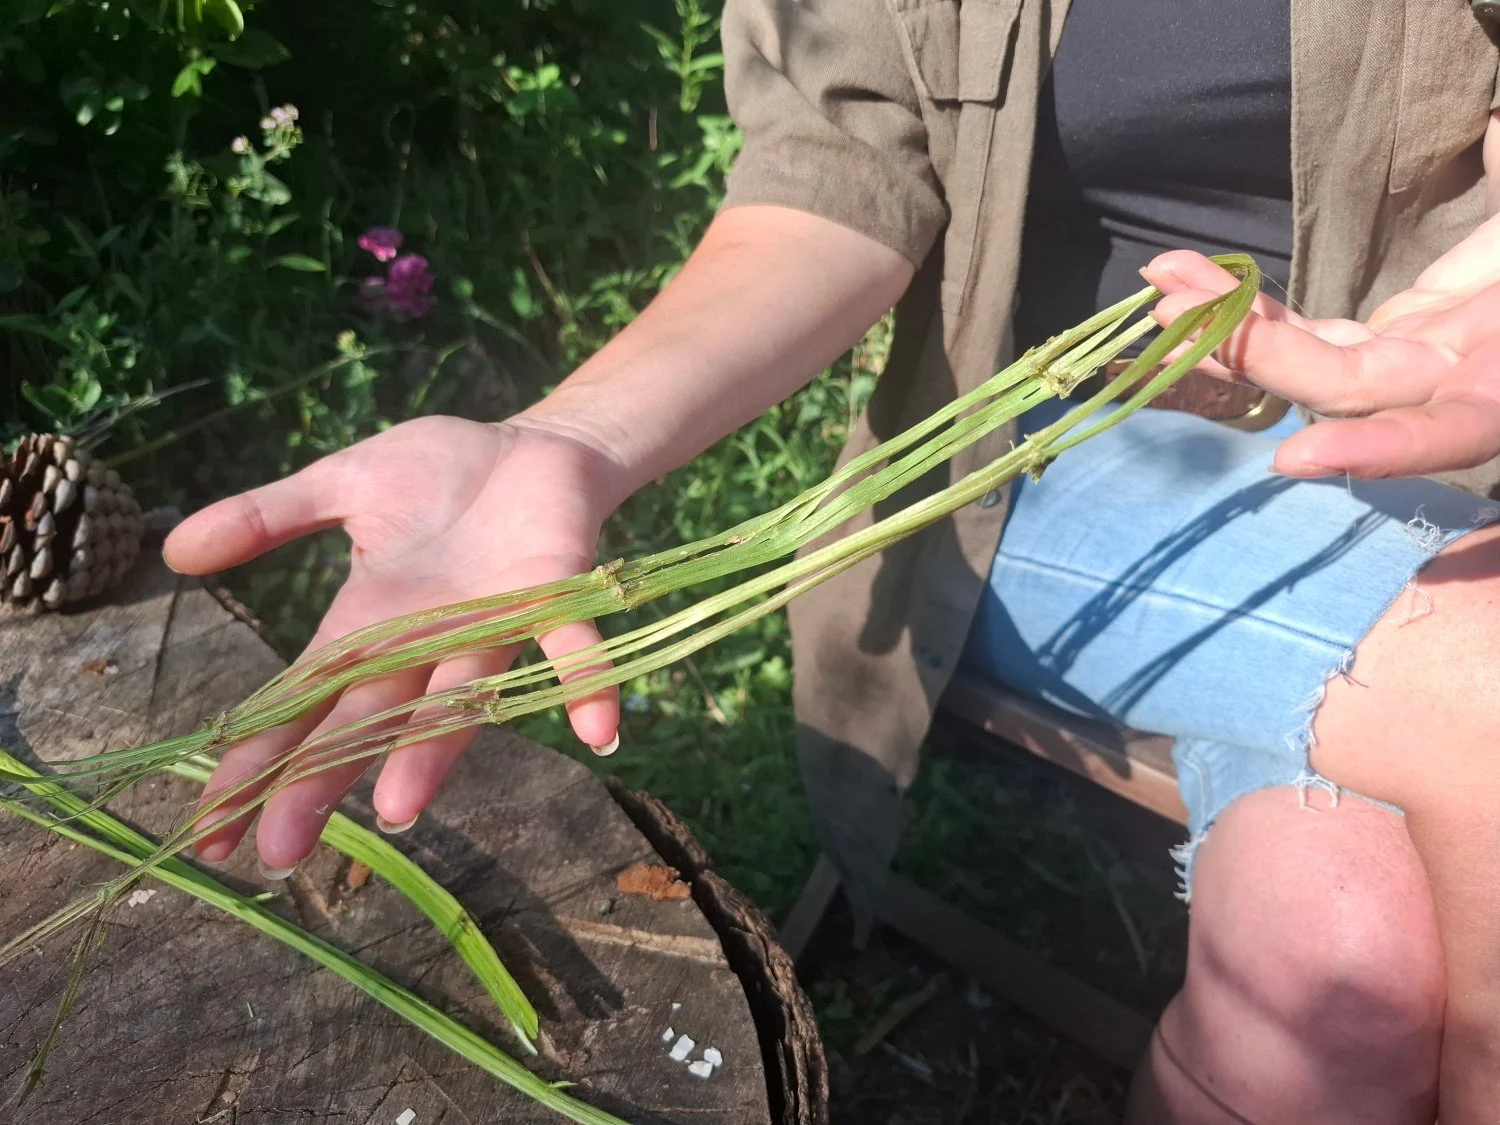
The outer fibres, pith removed.
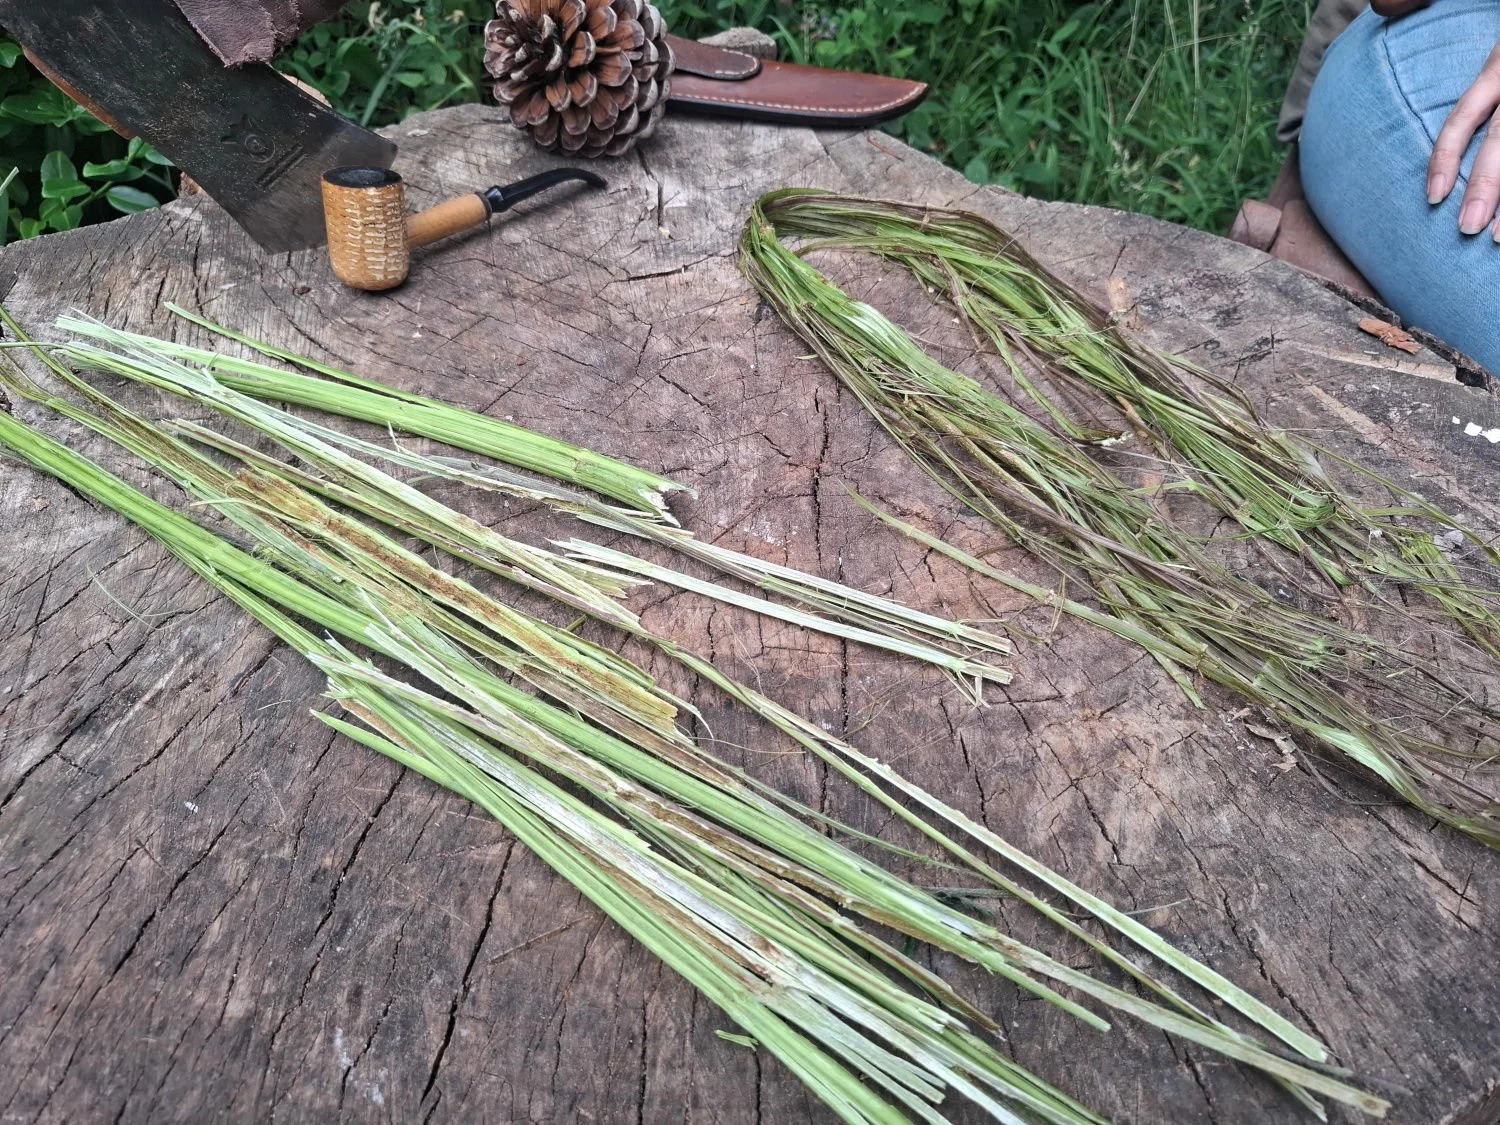
The fibres on the right and the pith on the left. The pith can be discarded…
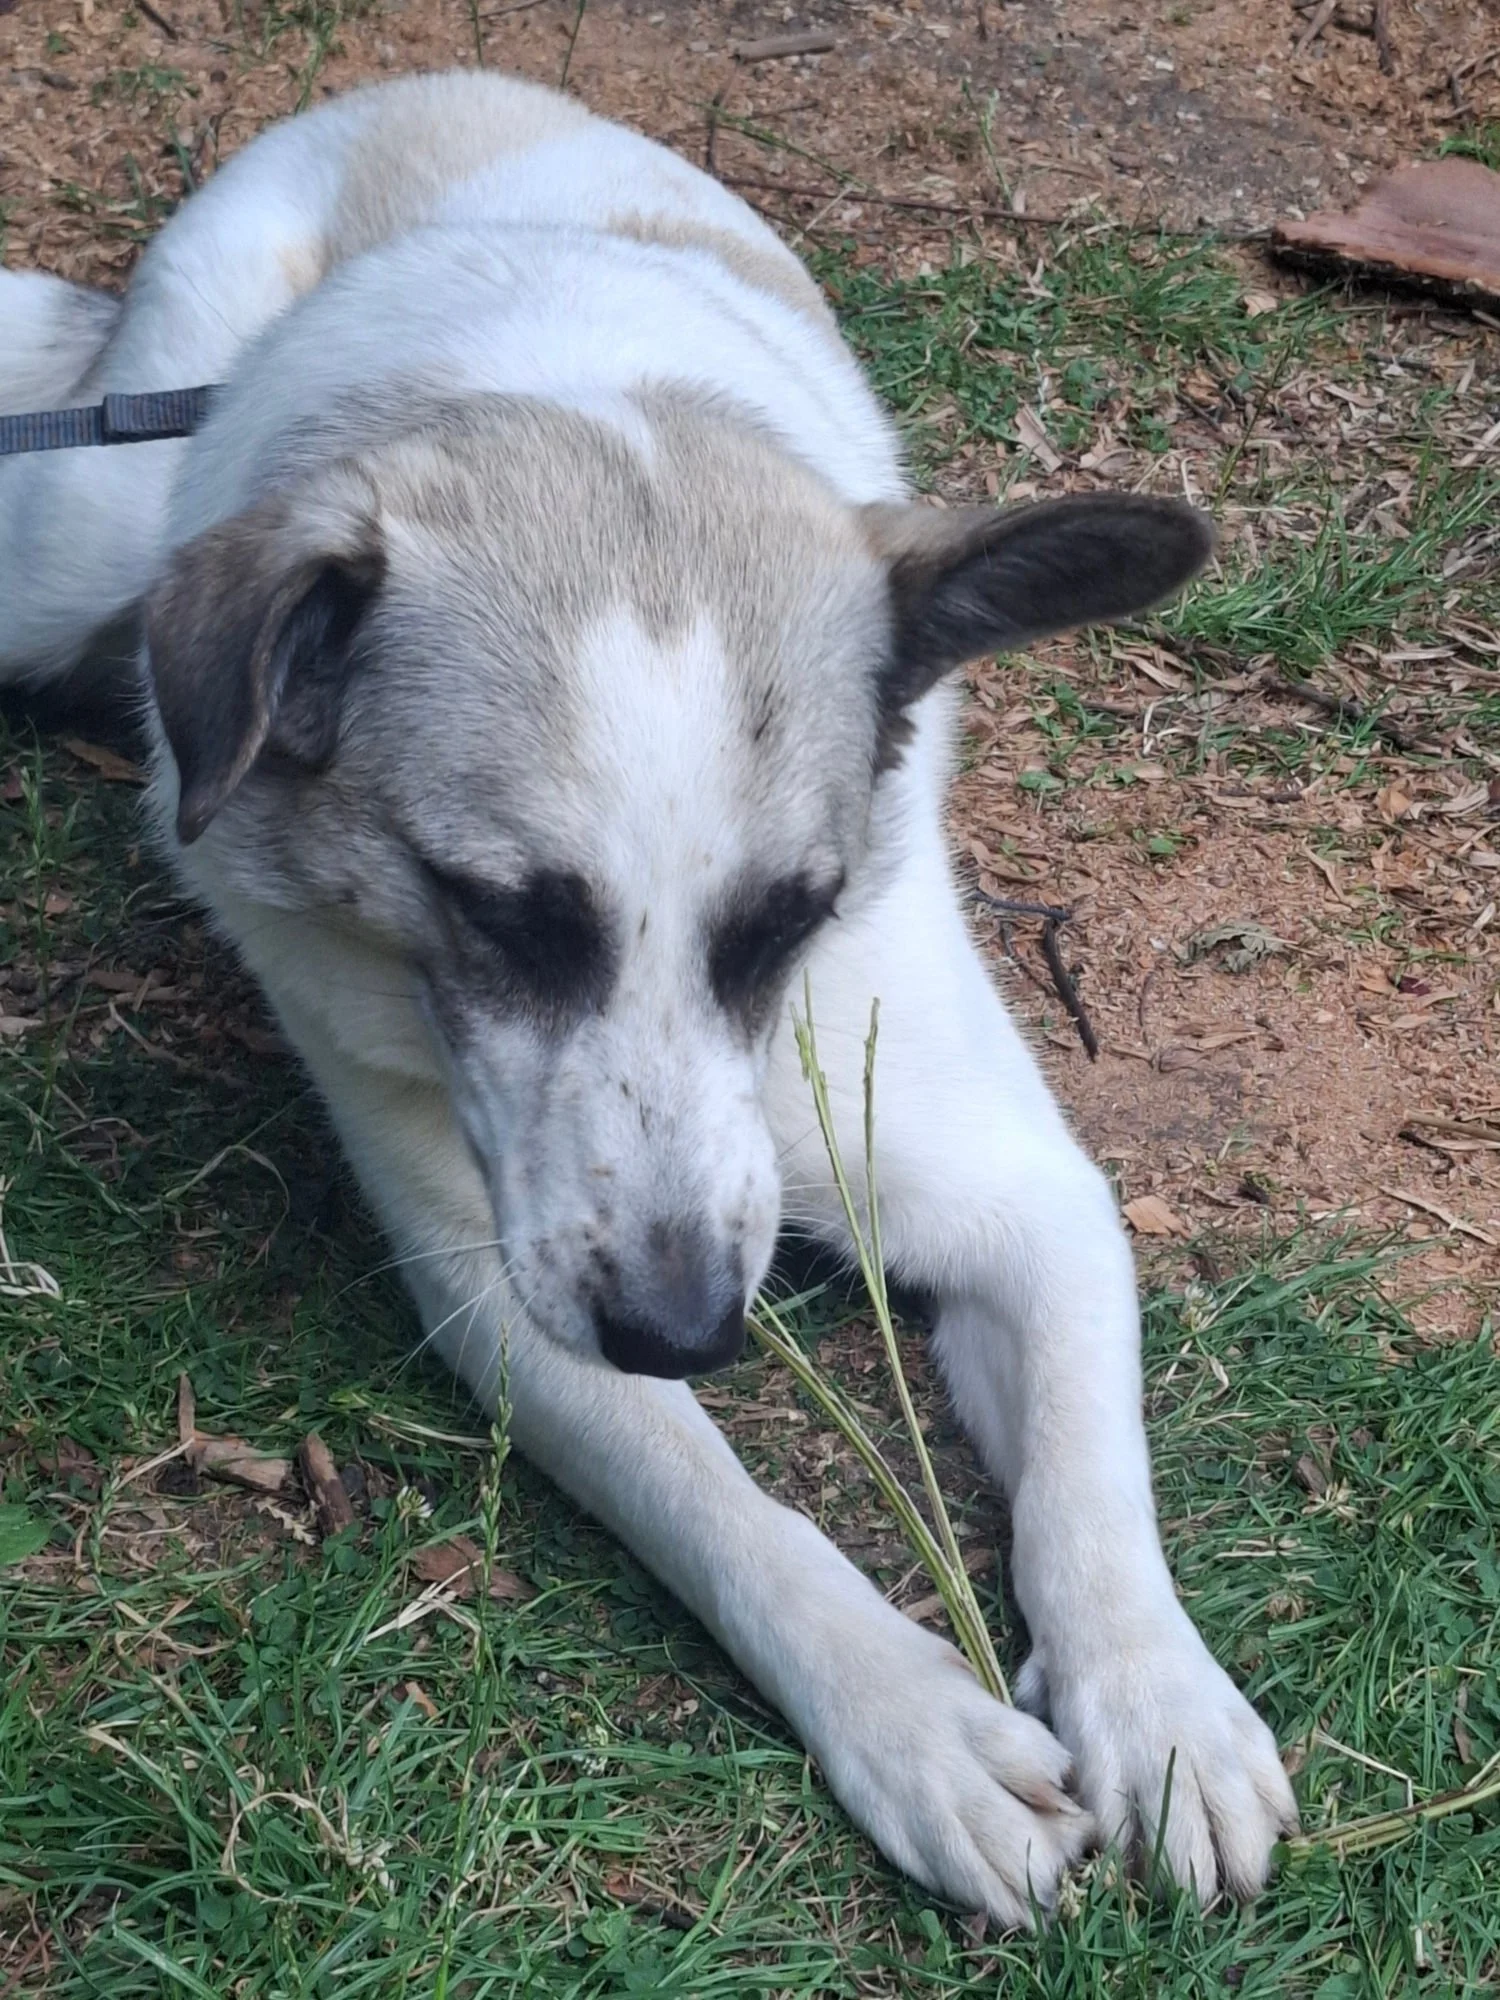
…or your dog might steal and eat it…
Now the fibres can be left to dry. On a warm, breezy day they may only need an hour or two.
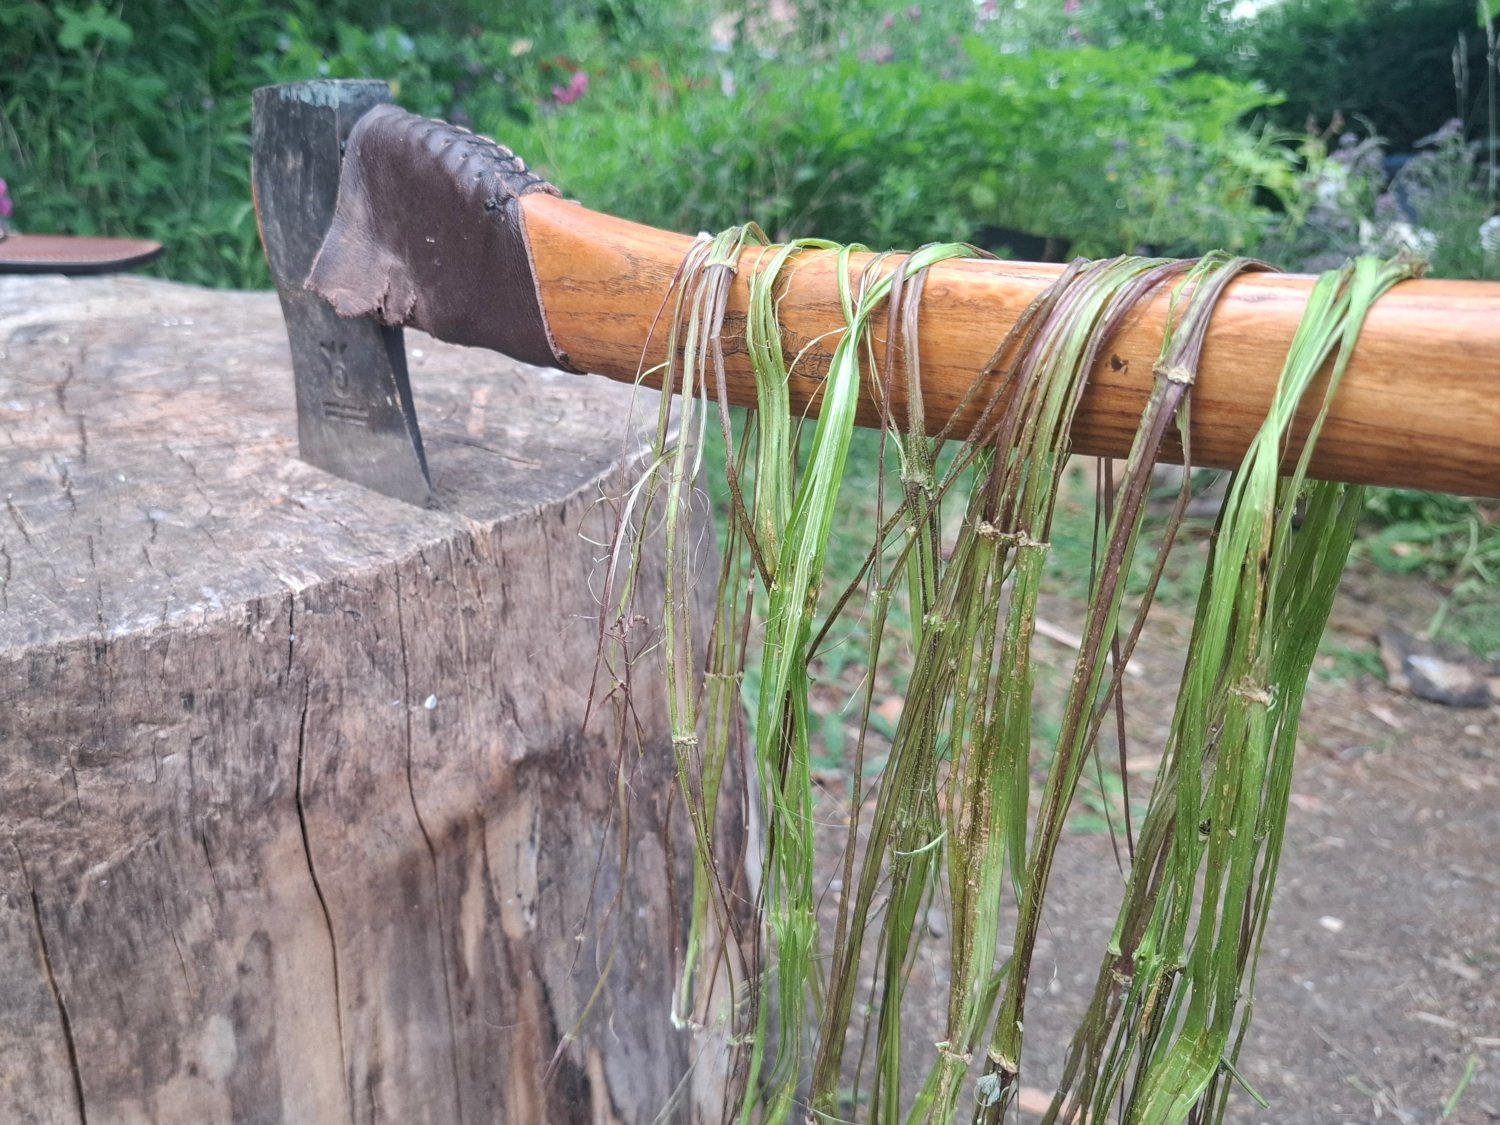
Once the fibres are dry we begin the process of twisting them into cord. Below is the method we tend to use, but there are many different ways to do it.
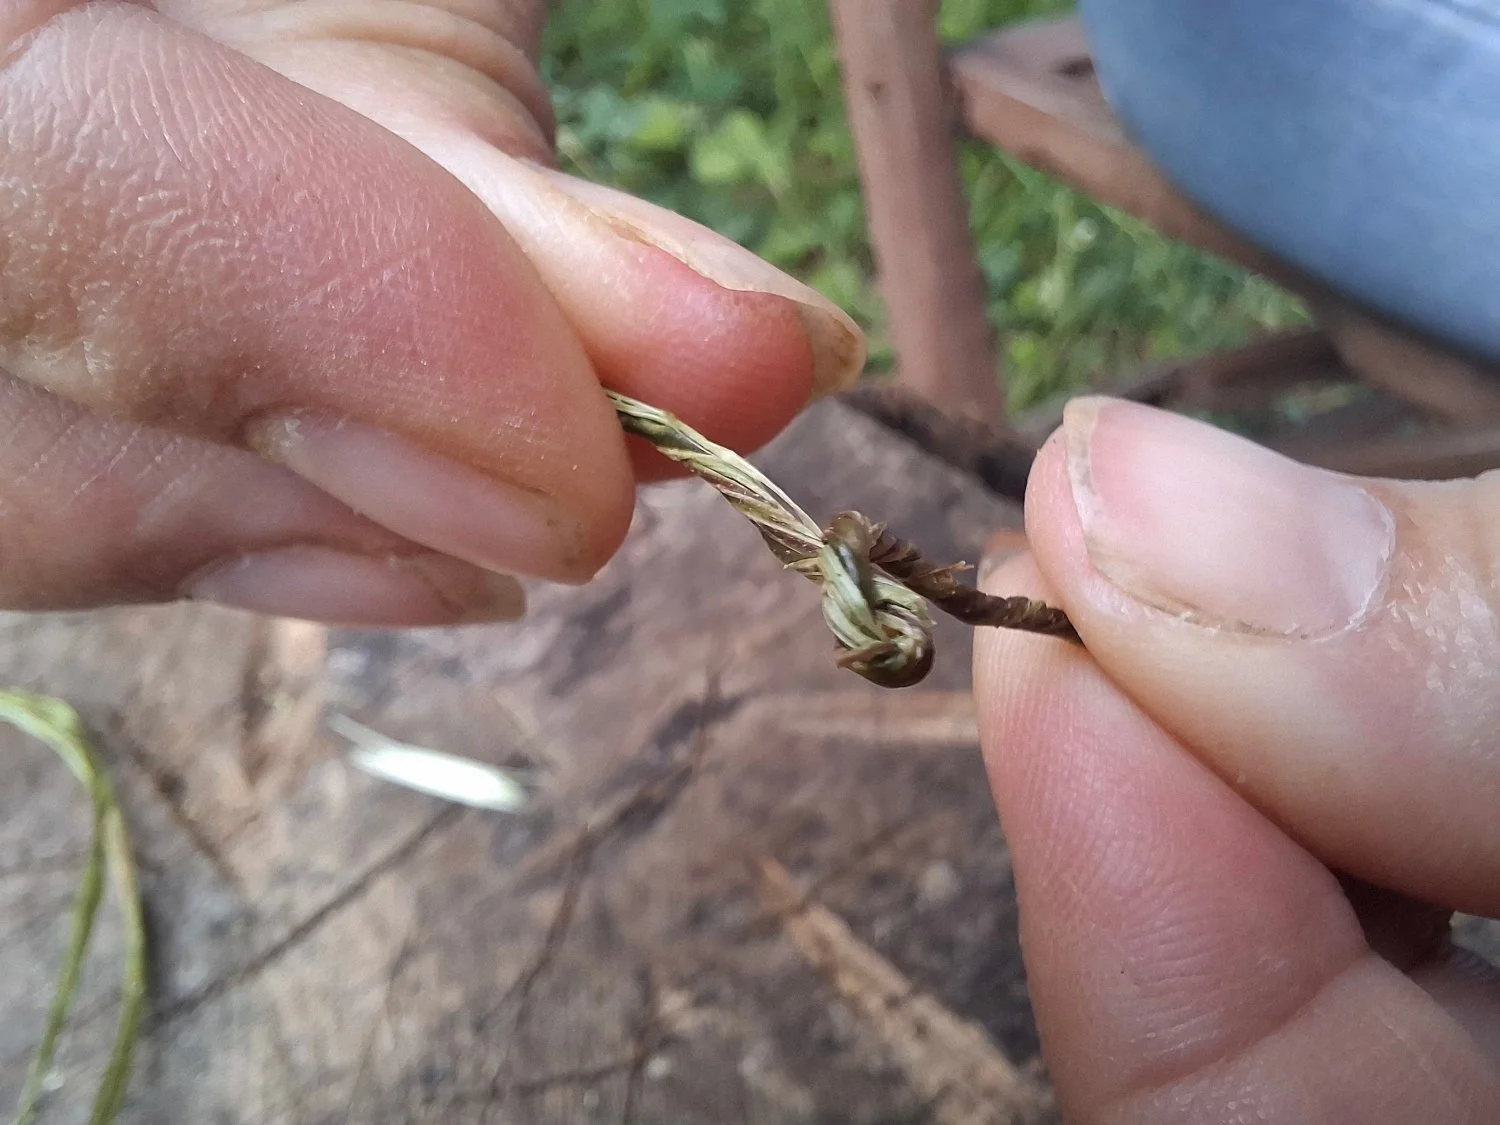
Twisting in one direction until the coil kinks. Start off-centre along the fibre so you end up with one long and one short tail. This means your joins will be staggered when you get to them.
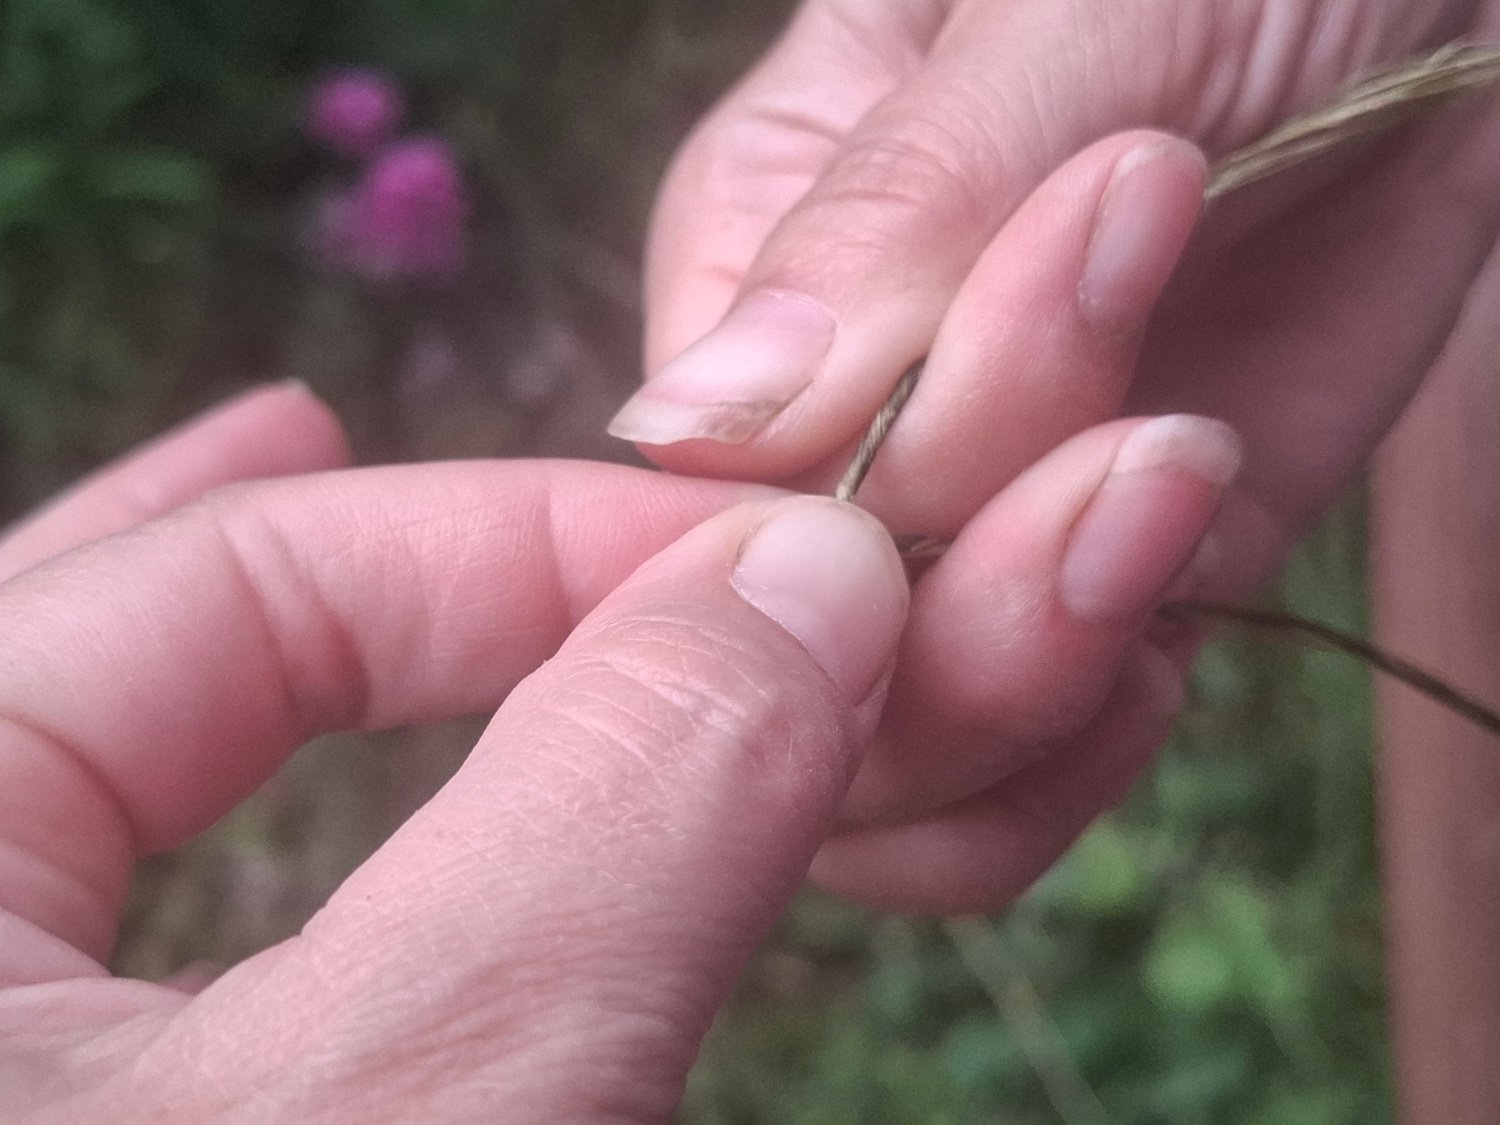
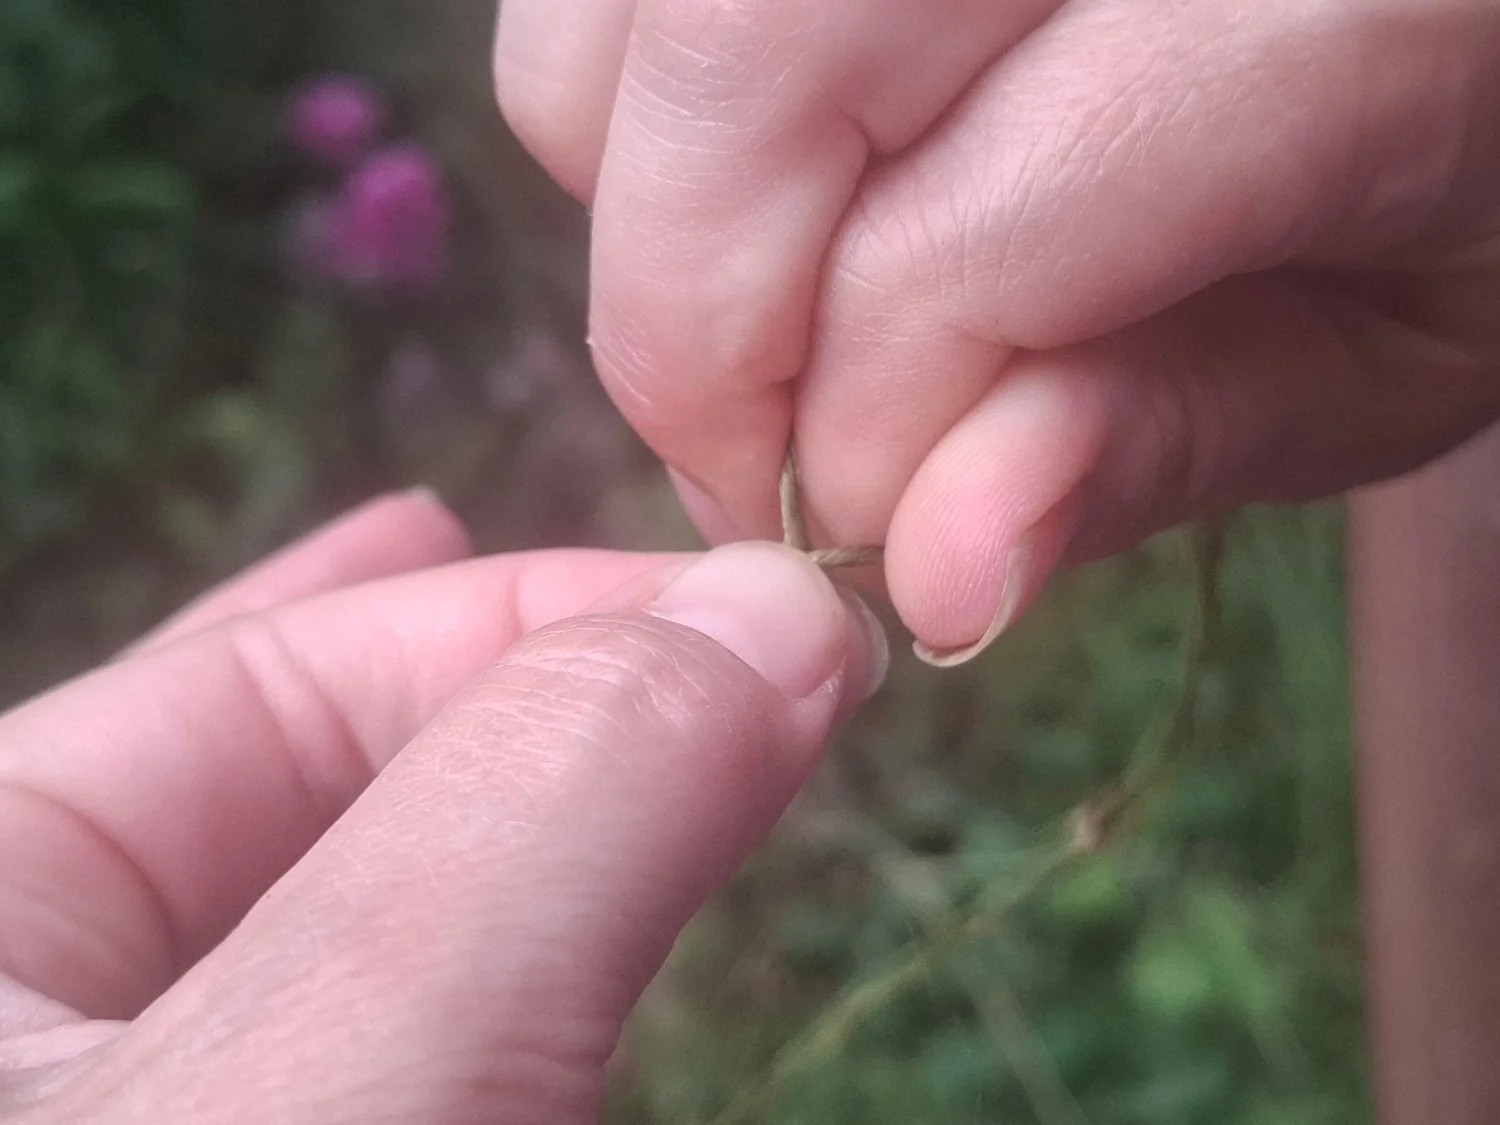
Pinch the kink. Hold it so you have a top strand and bottom strand. Take the strand that is farthest from you. Roll or twist that strand away from you between thumb and forefinger. Keeping that twist, bring it toward you and over the other strand. Using your other hand, pinch the two strands in place.
The two strands have swapped positions. Repeat the process.
The key is to twist the single strand in one direction and twist the two strands together in the opposite direction. This causes the opposing twists to grip one another.
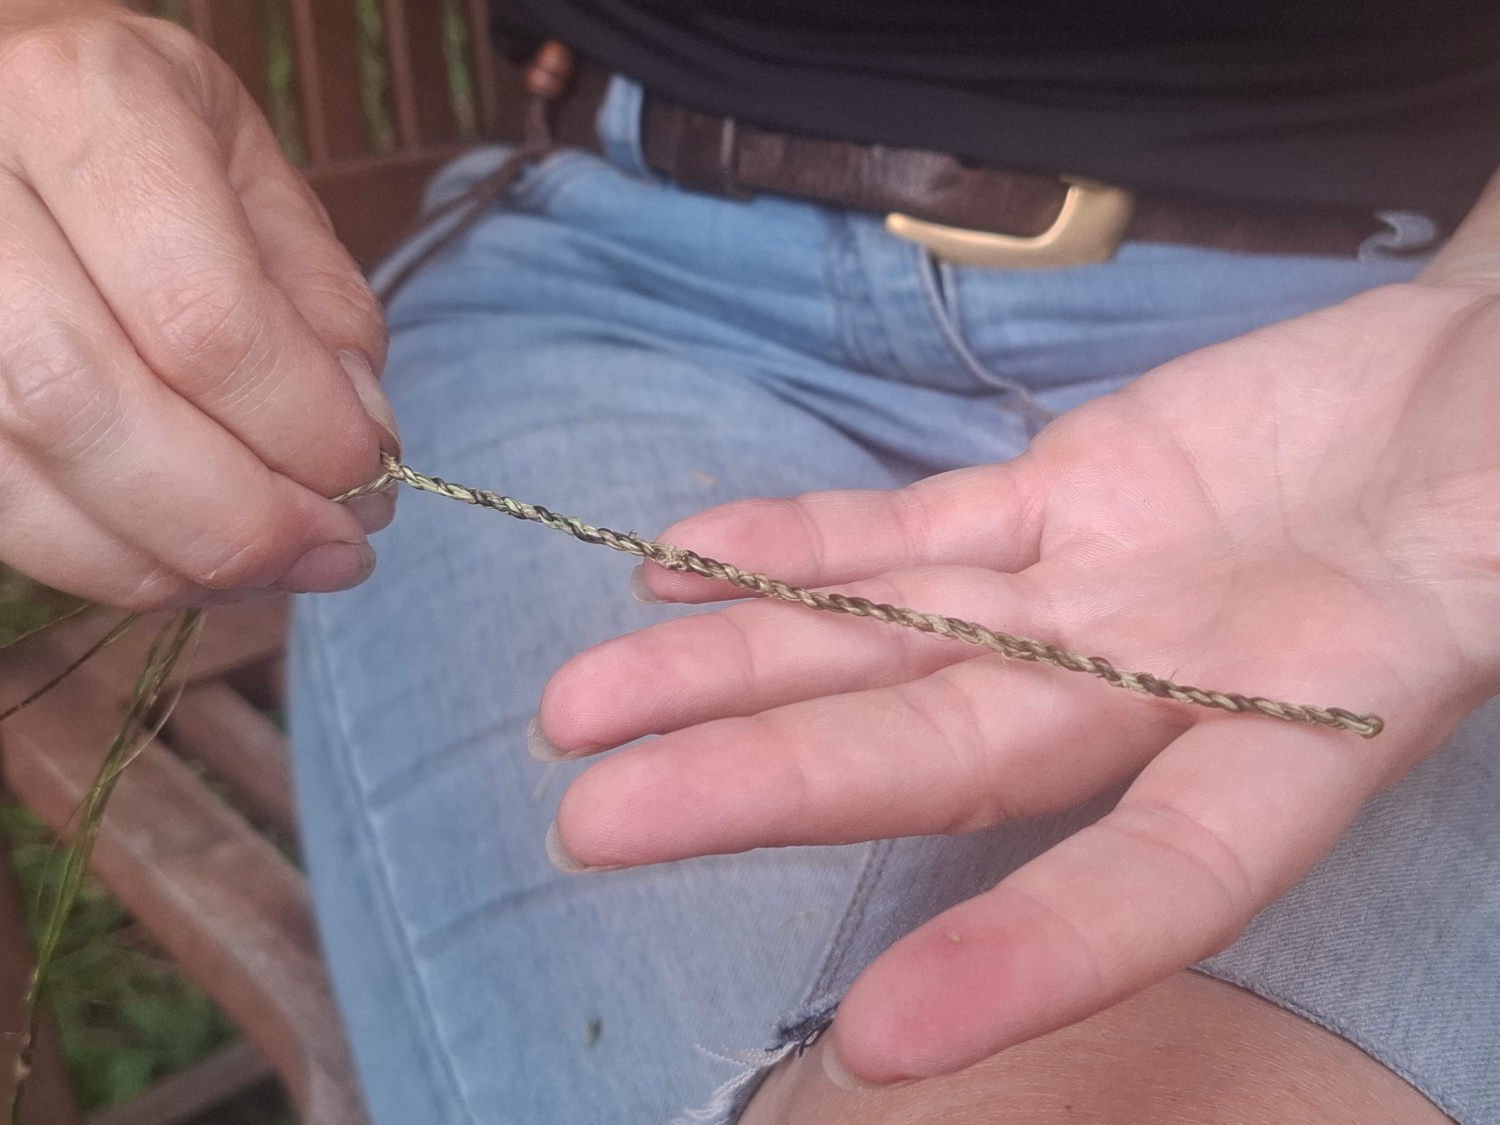
Work in progress.
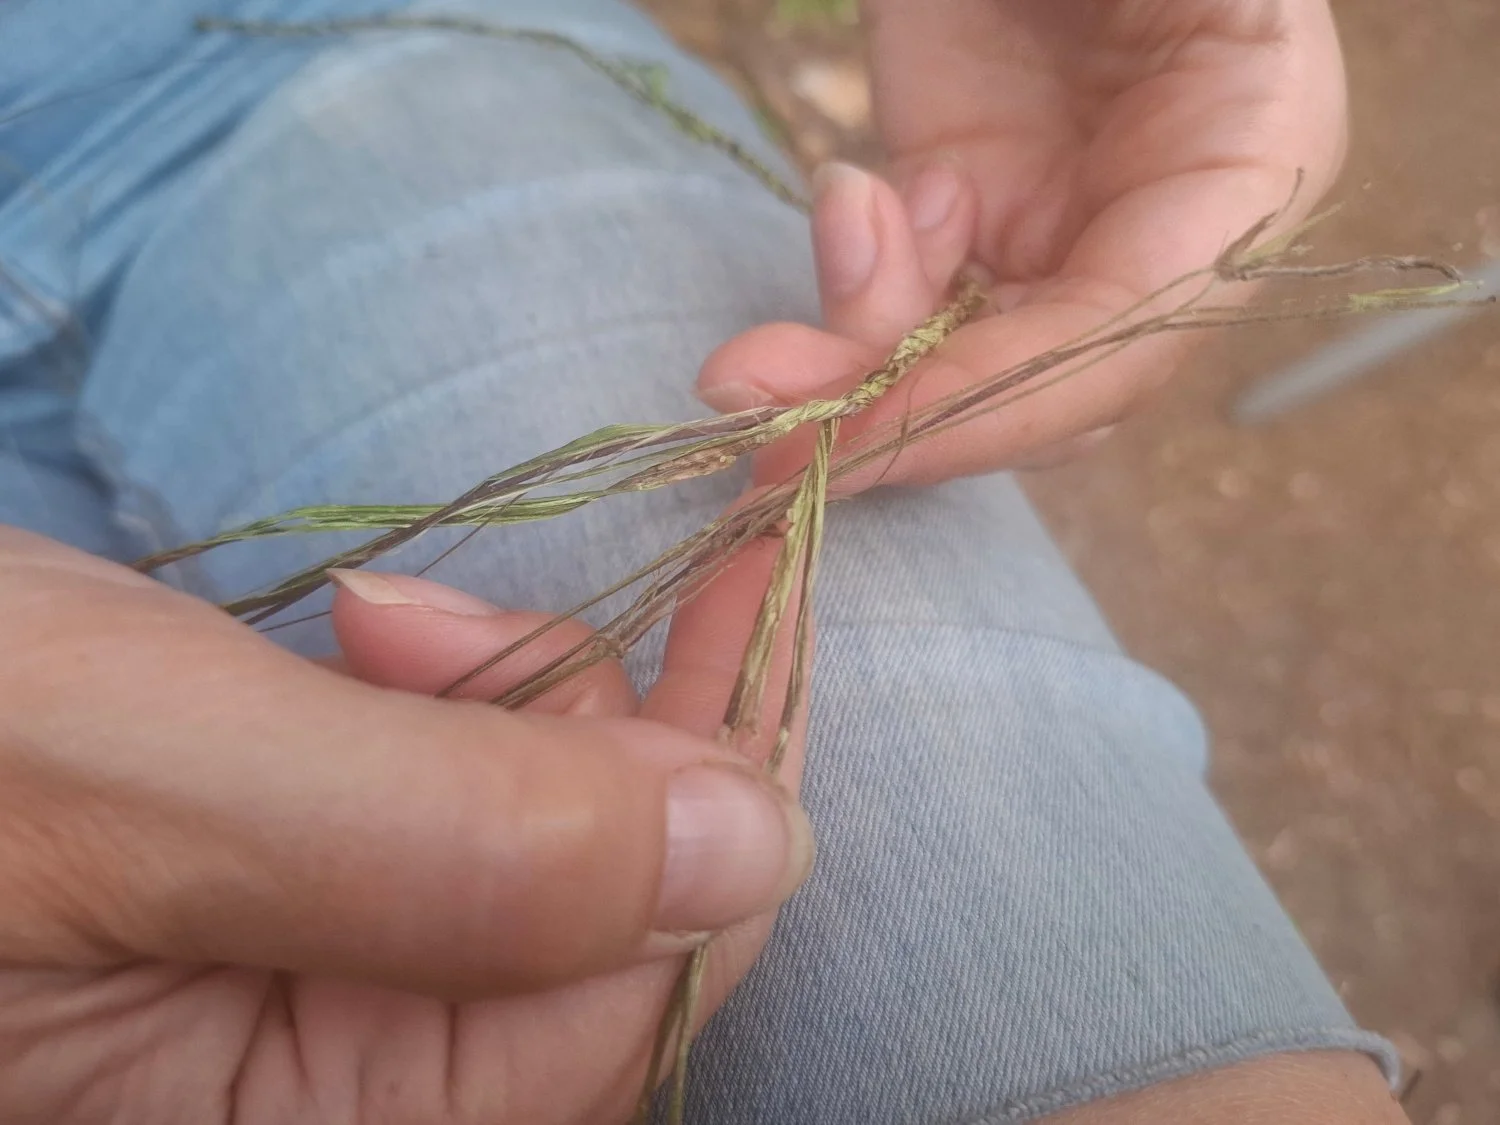
Adding more fibres.
Upon nearing the end of a tail new fibres are added by simply laying them over the tail then continuing to twist as normal, treating it all as one. If you find one tail is much thinner than the other then add more fibres to the thin one to keep the two strands the same. If you work with a thick tail and a thin one, the thin one wraps around the thick rather than them twisting together evenly.
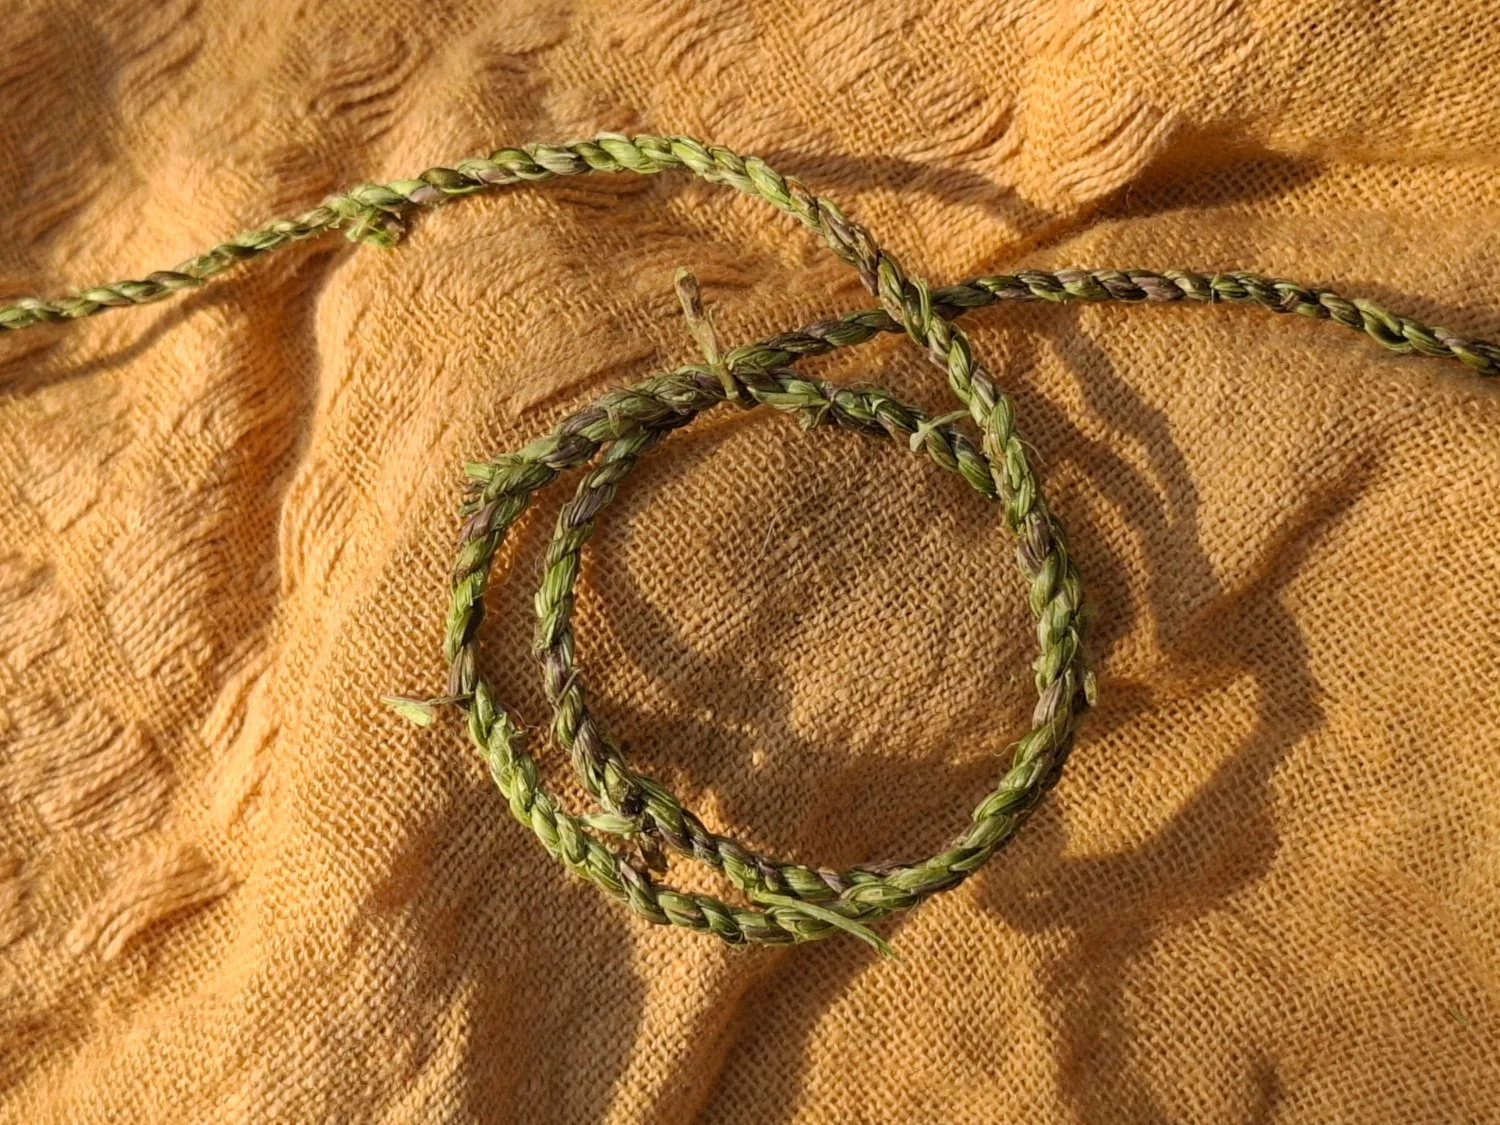
The finished cord. The join-in tails can be trimmed short or singed off with a flame. You can also wax the cord by running it across a block of beeswax.